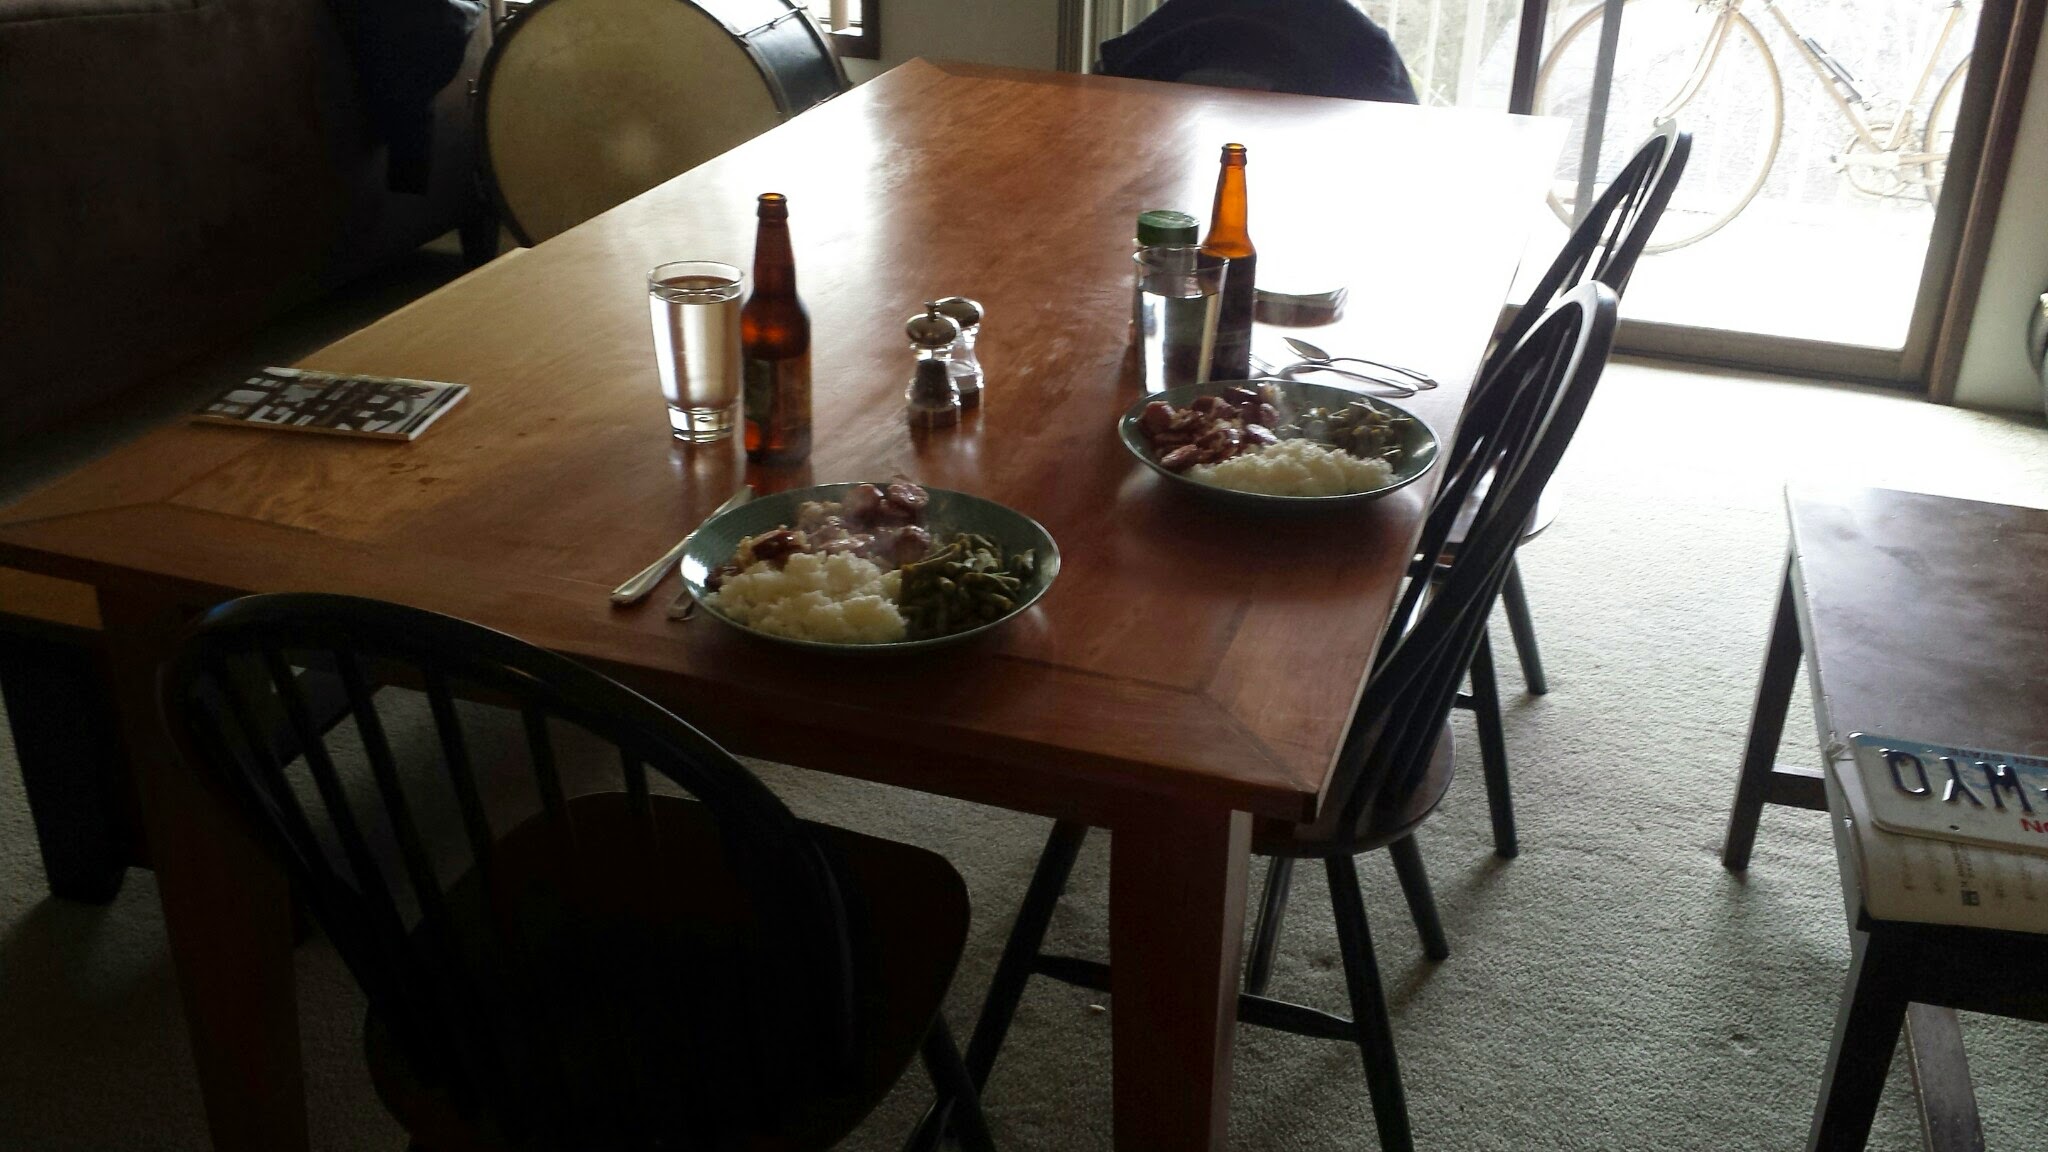
Dining Room Table
Hardwood table built out of cherry with walnut inlays
This was one of the first large woodworking projects I did and I really love how it turned out!
I made this table with my dad when I was in college. The process took a long time since we could usually only find one Saturday per month to work on it together.
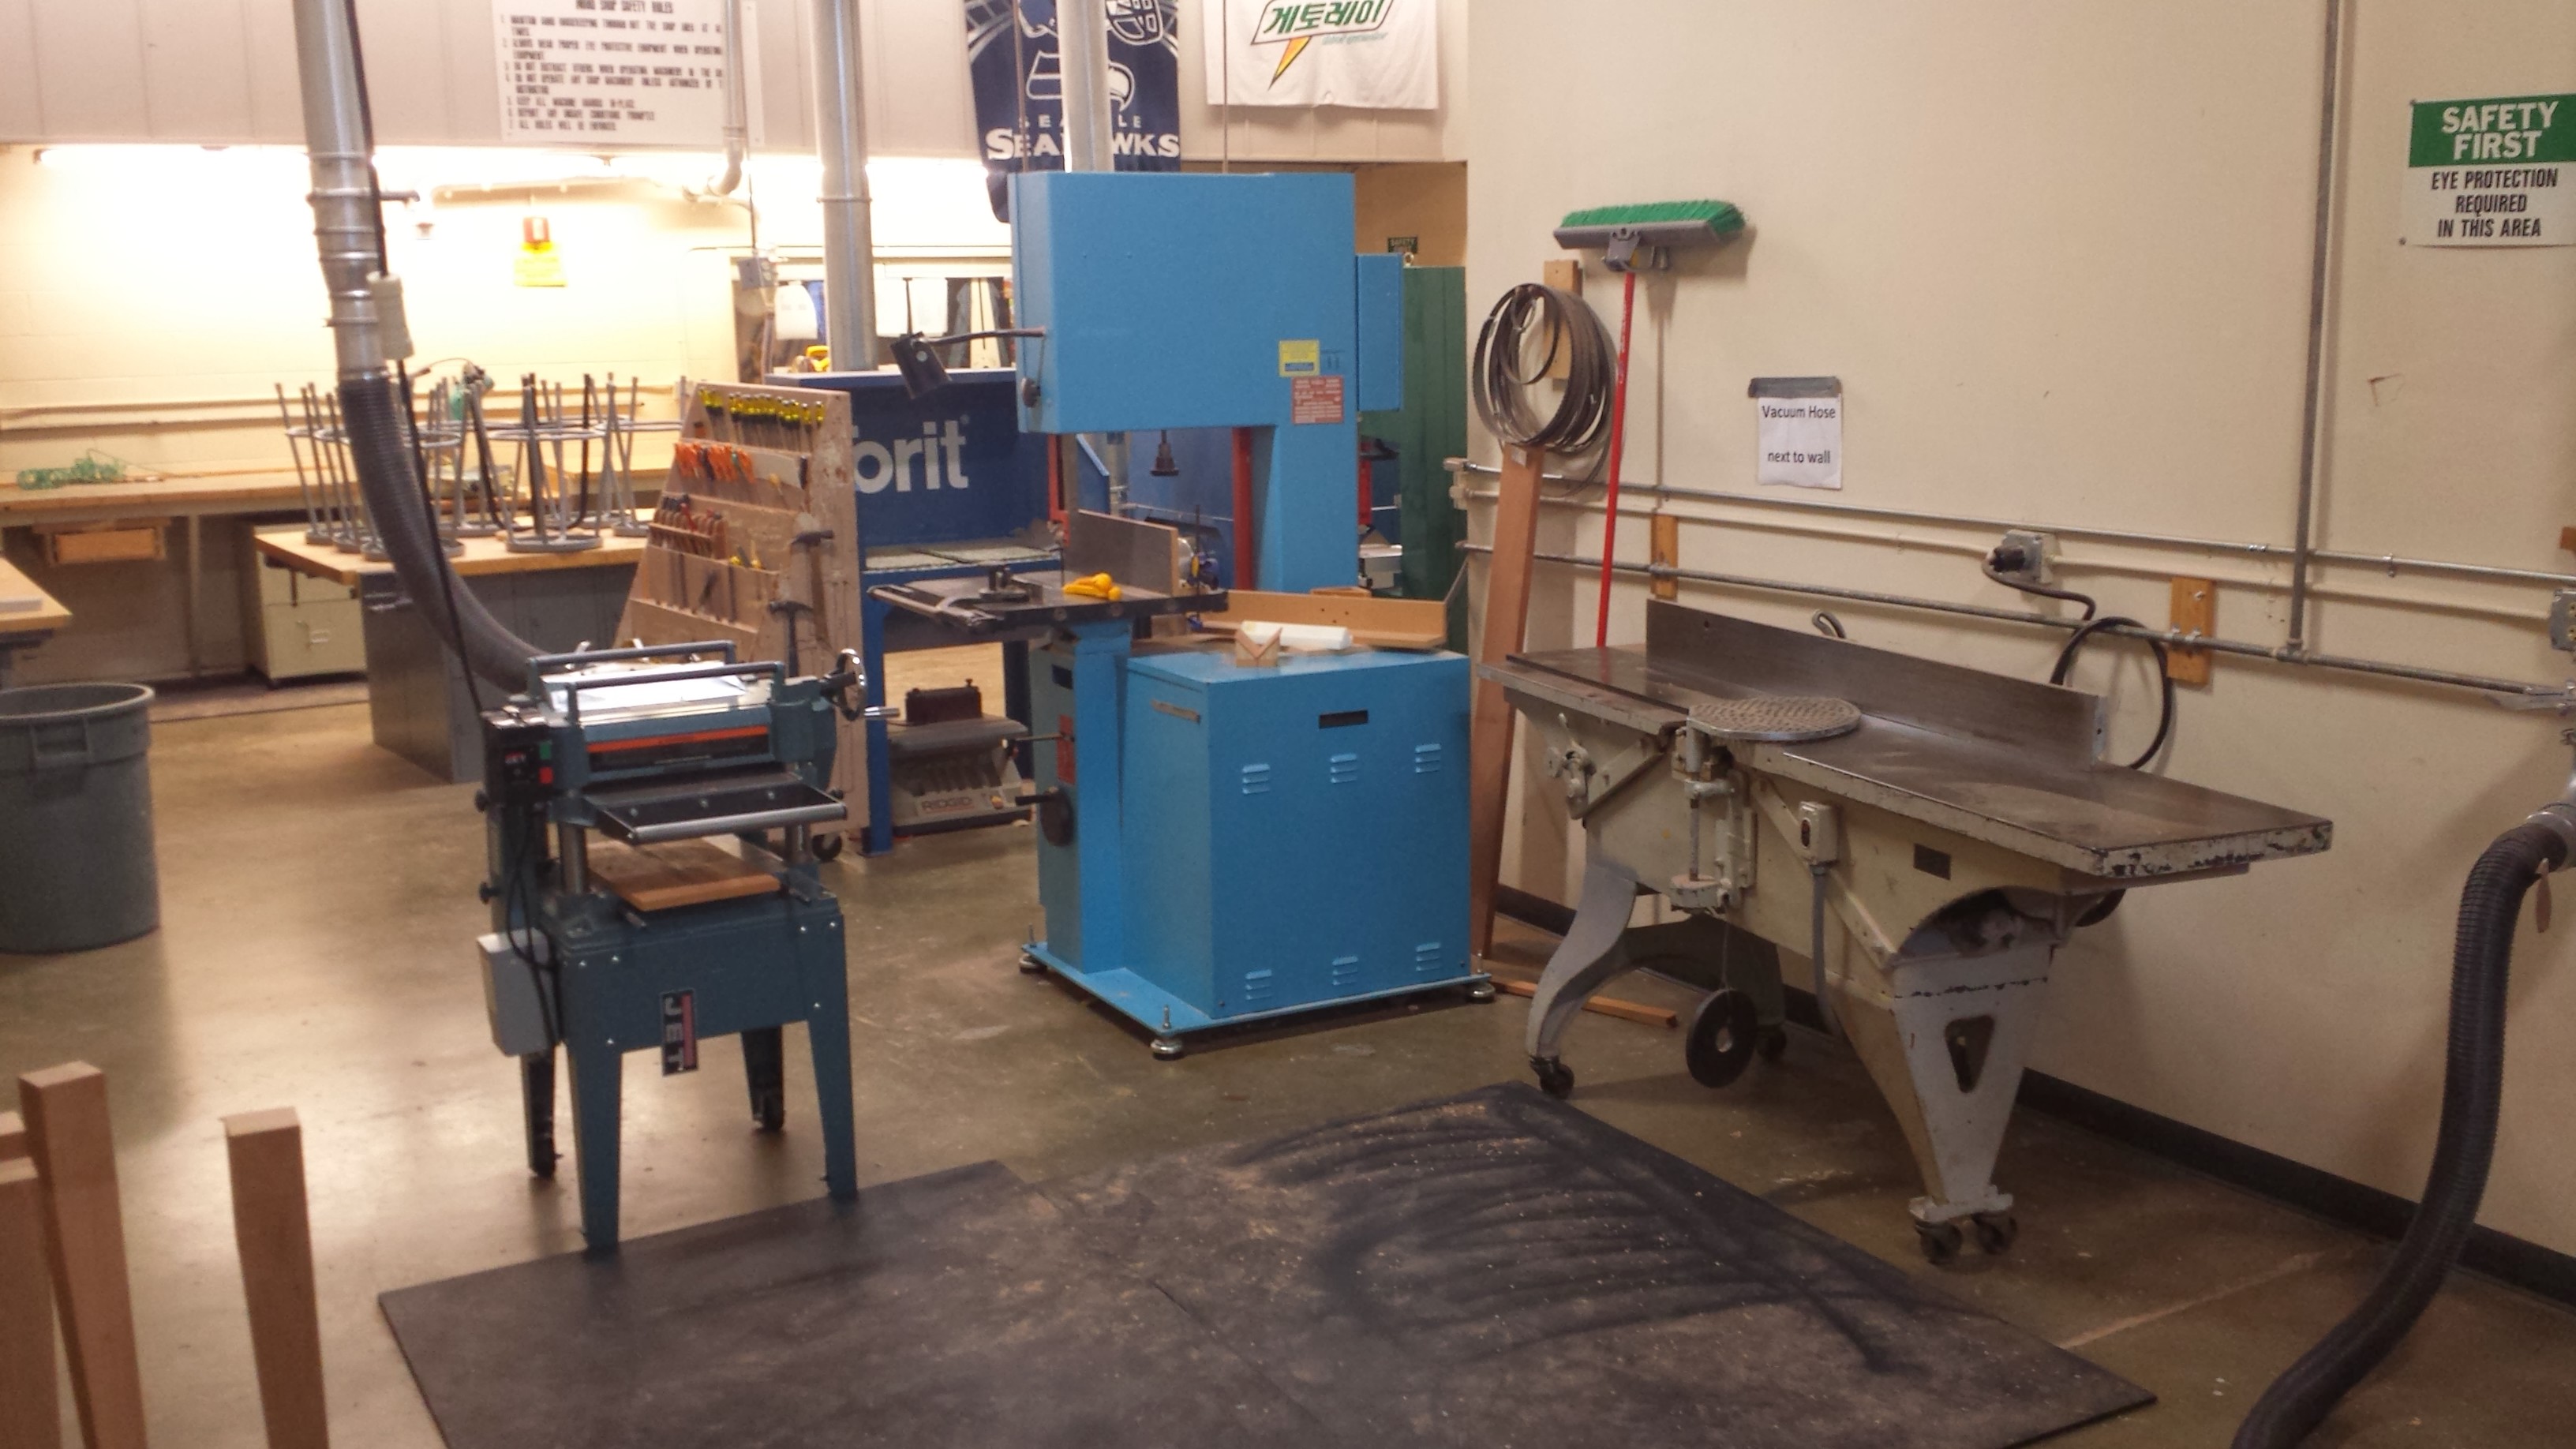
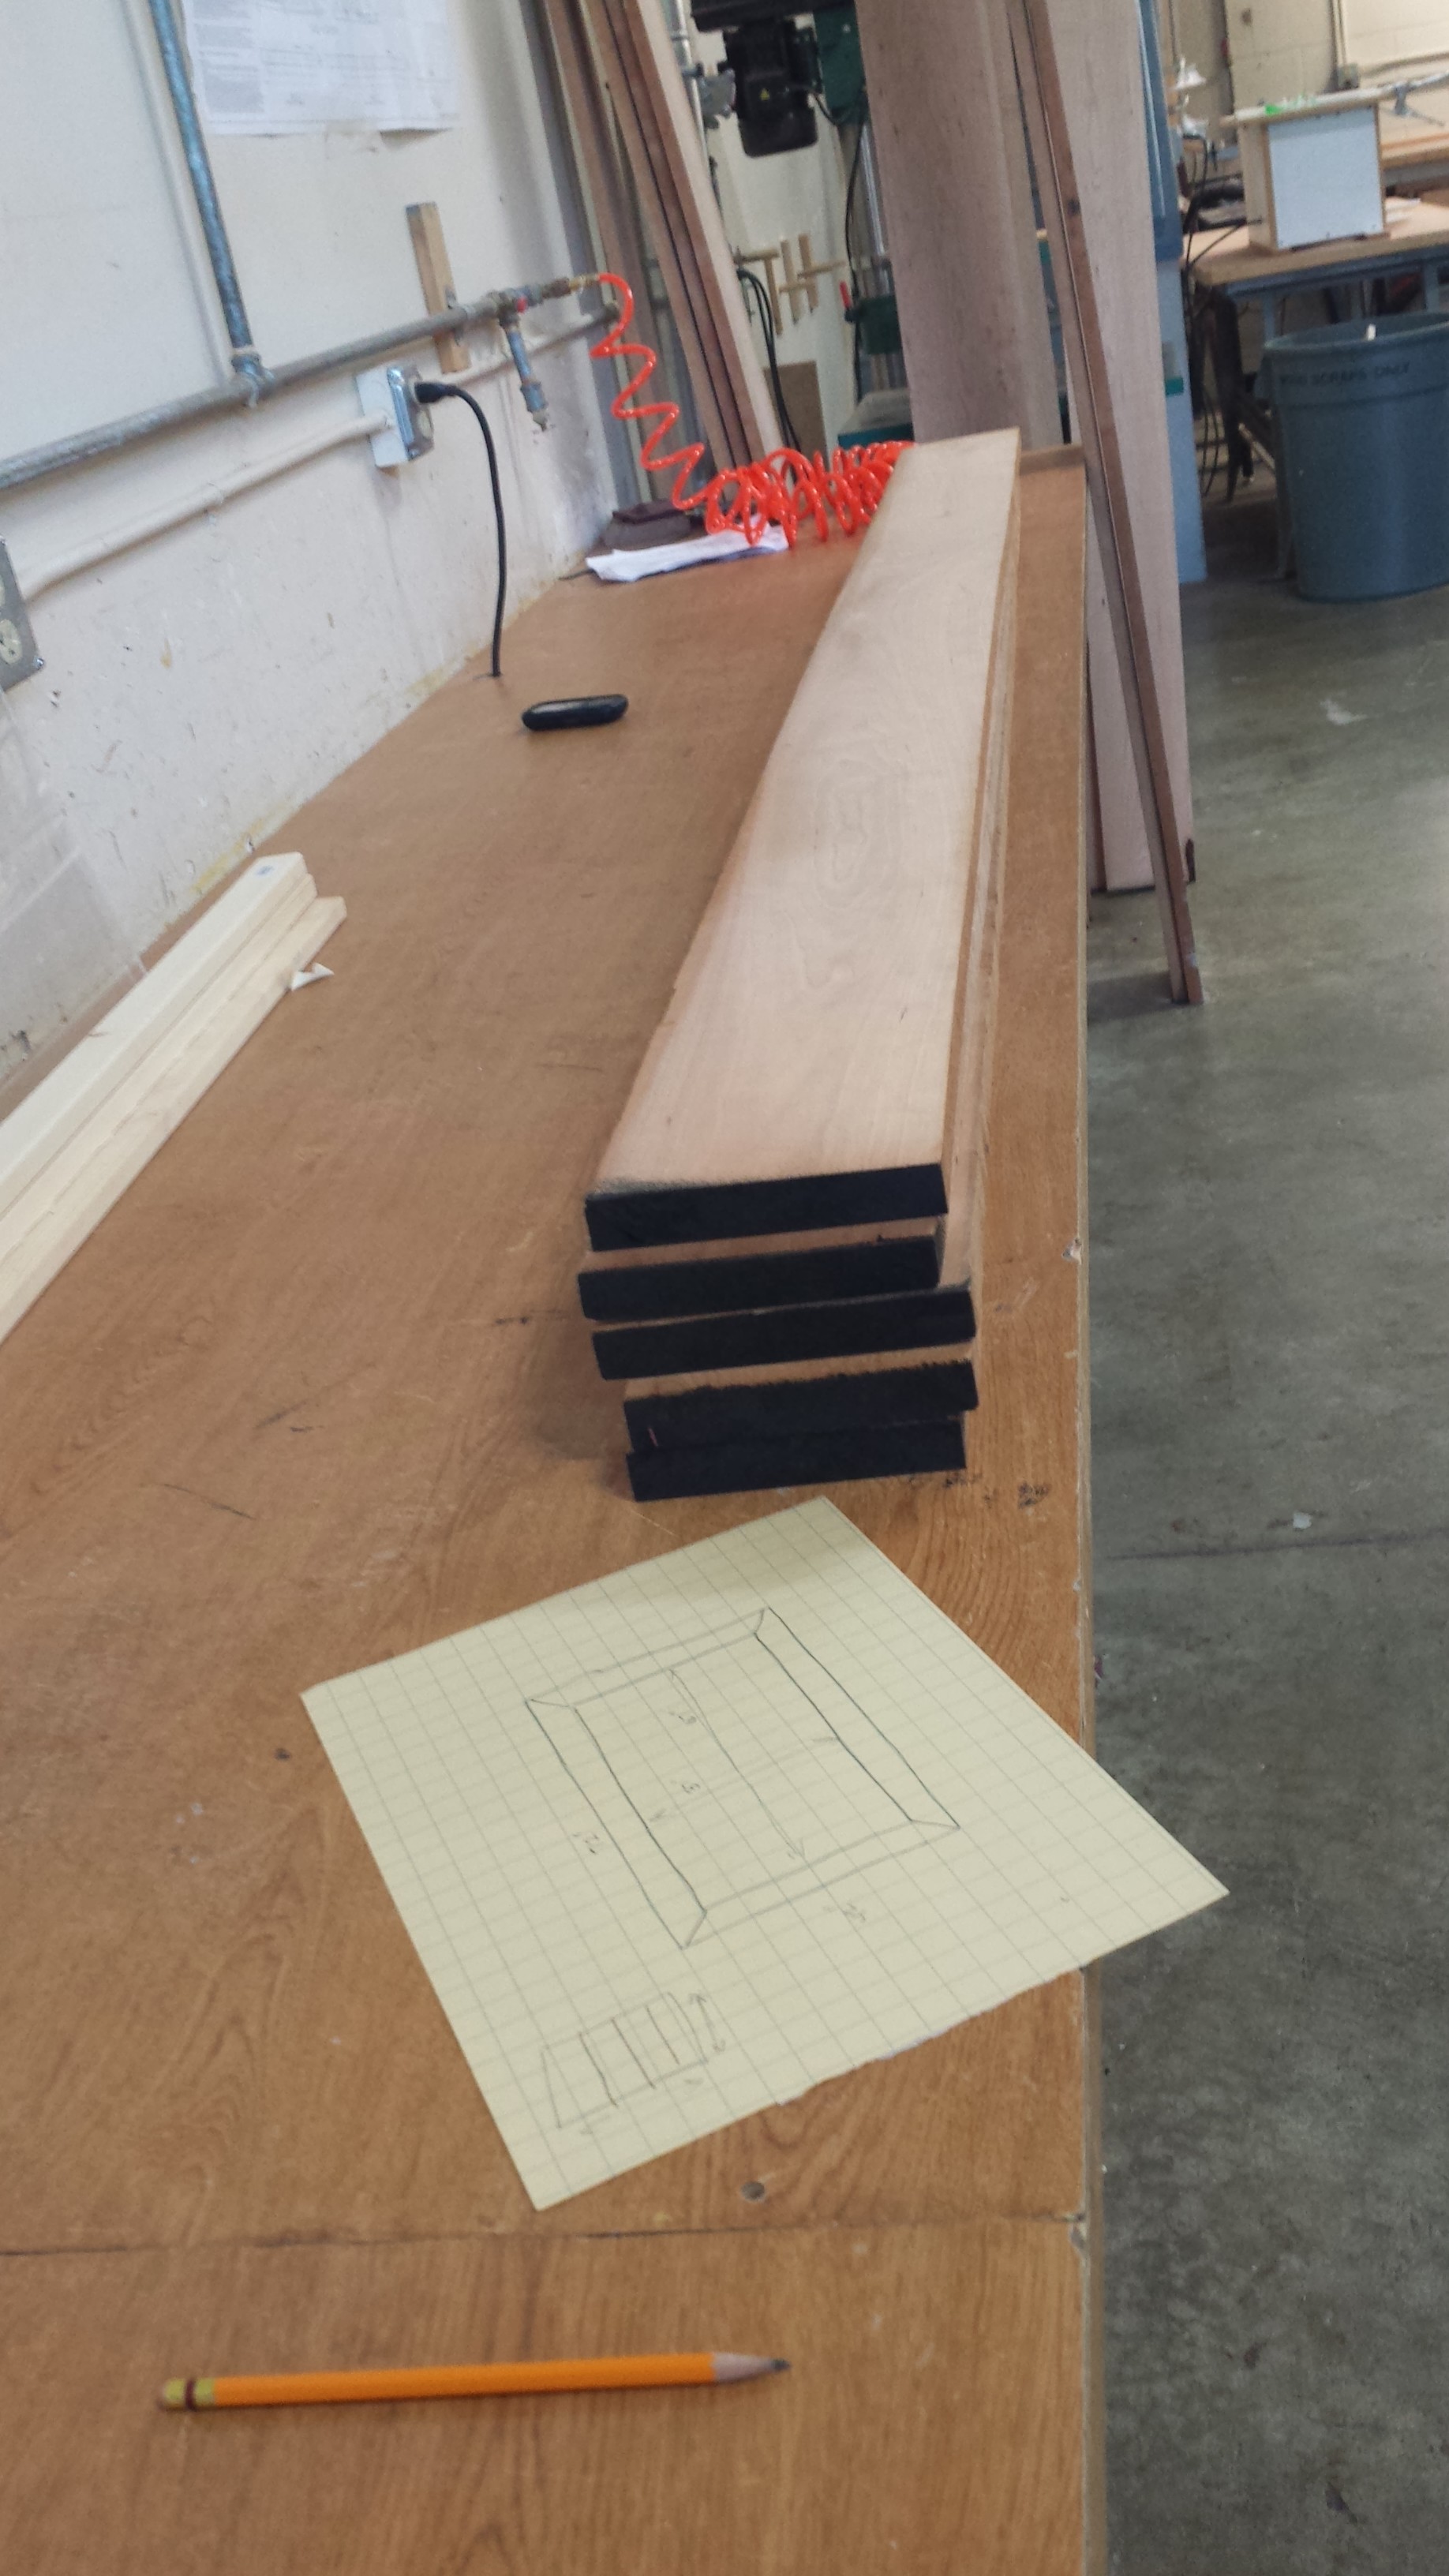
Plans and lumber
I wanted to be able to fit four people on each long side and one person at each short side. I wanted to allow for around 20" per place setting so I planned to make it 72" by 42". It’s a terrible feeling to knock your knees against the apron so I made sure it was ____ inches from the ground and ____ inches from the top of a typical seat.
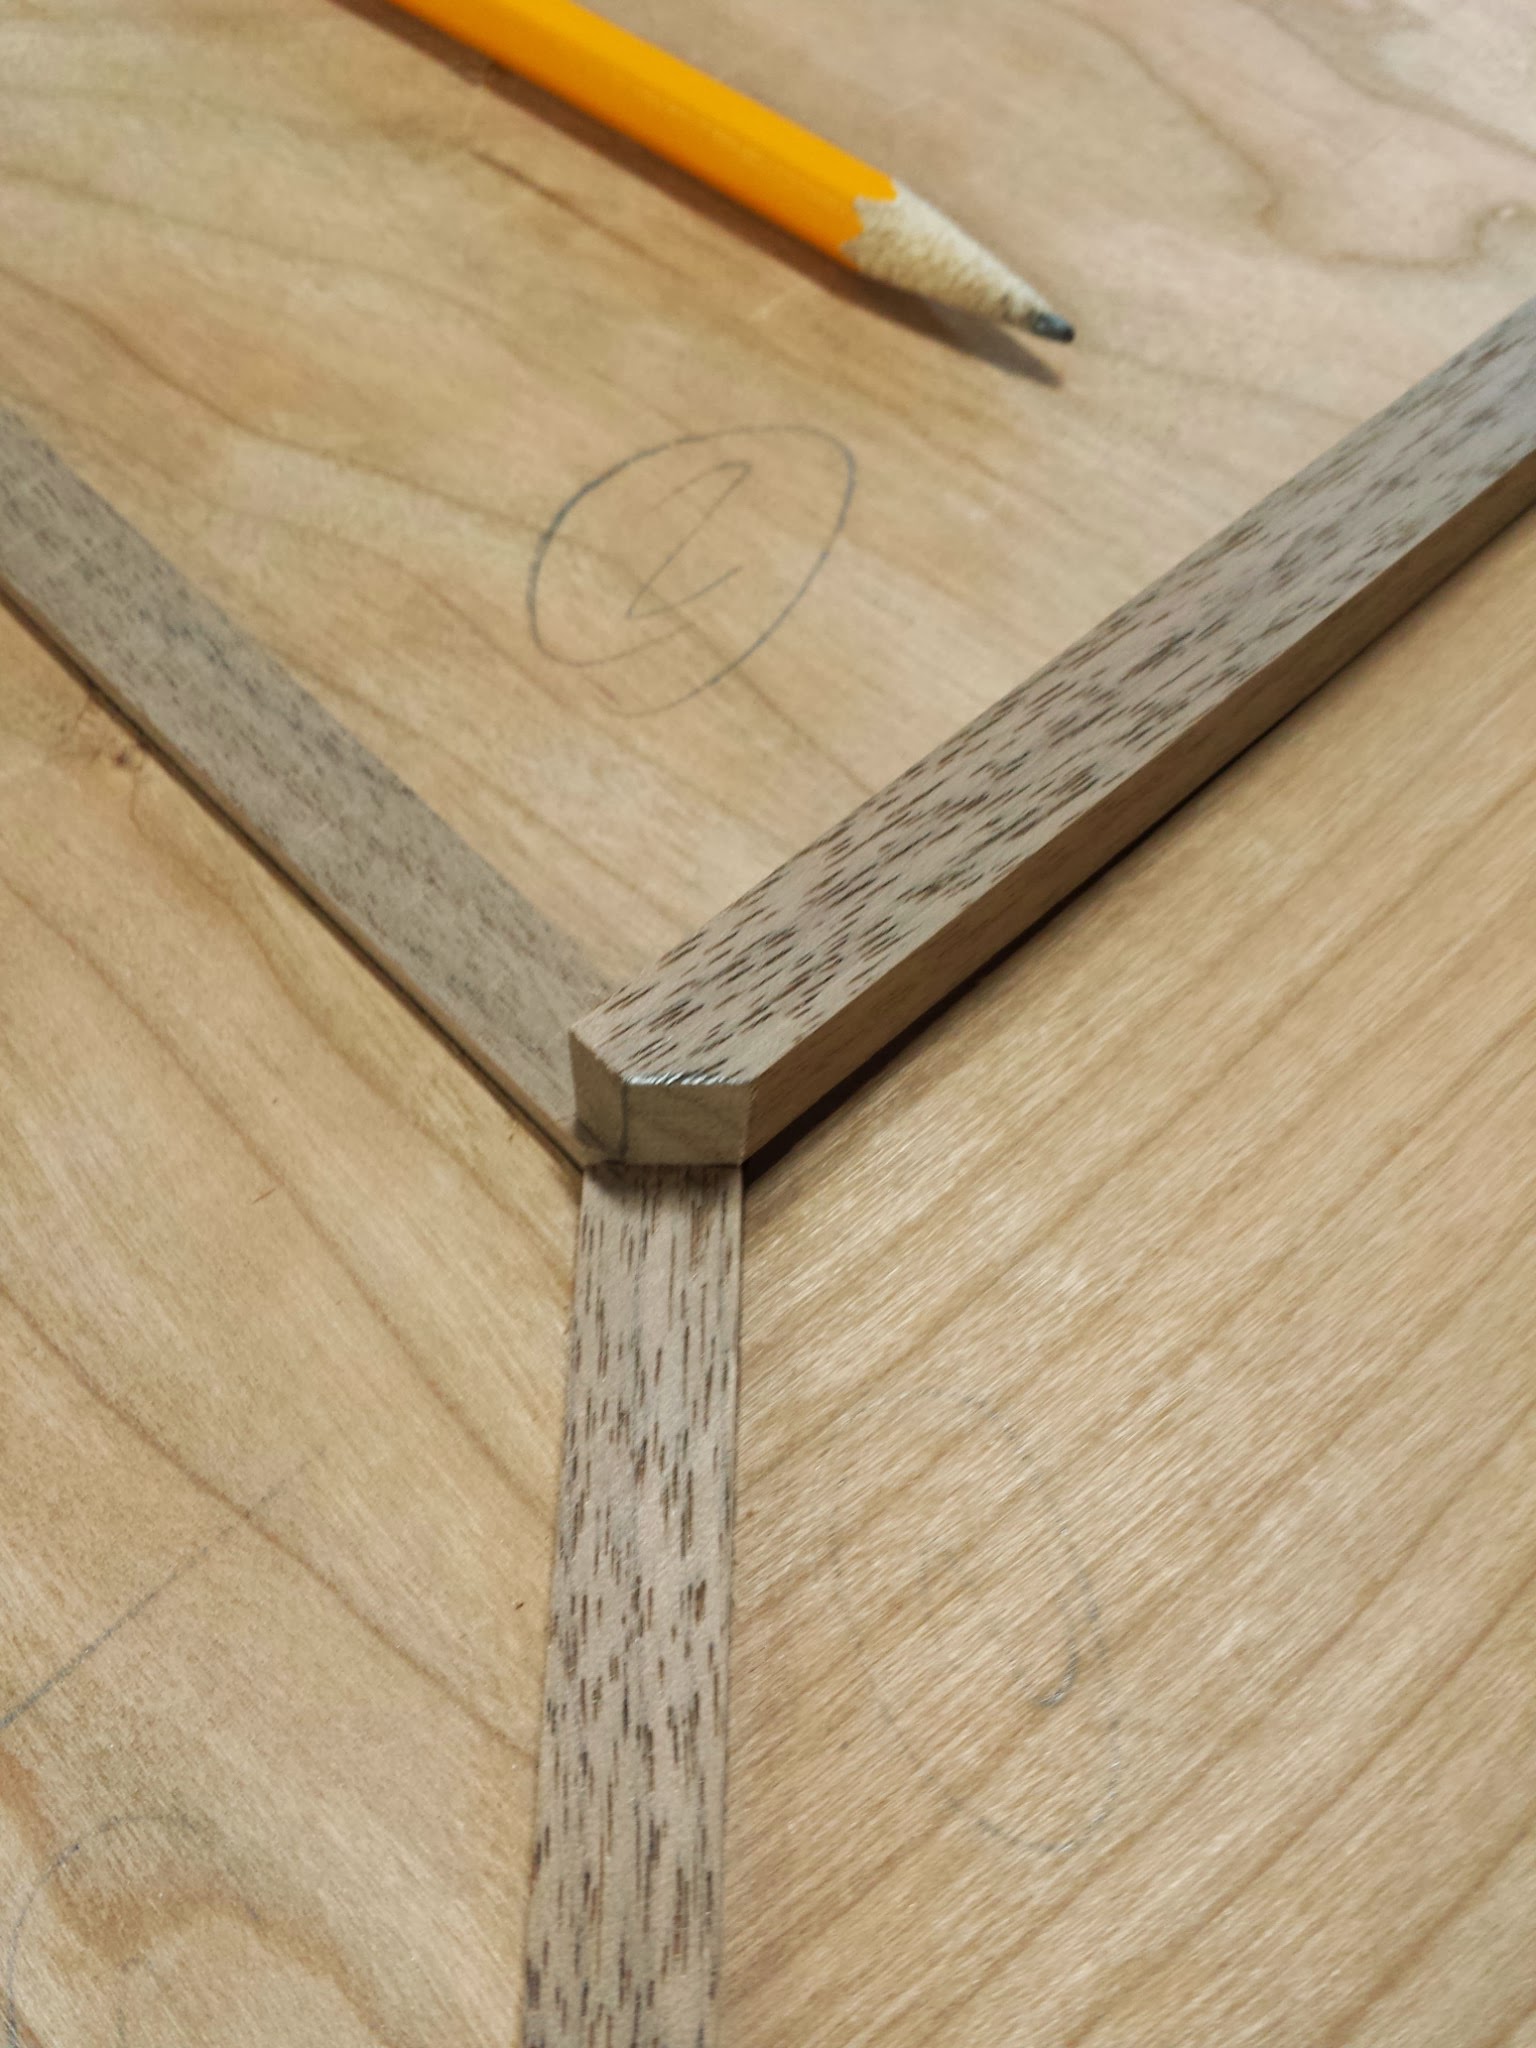
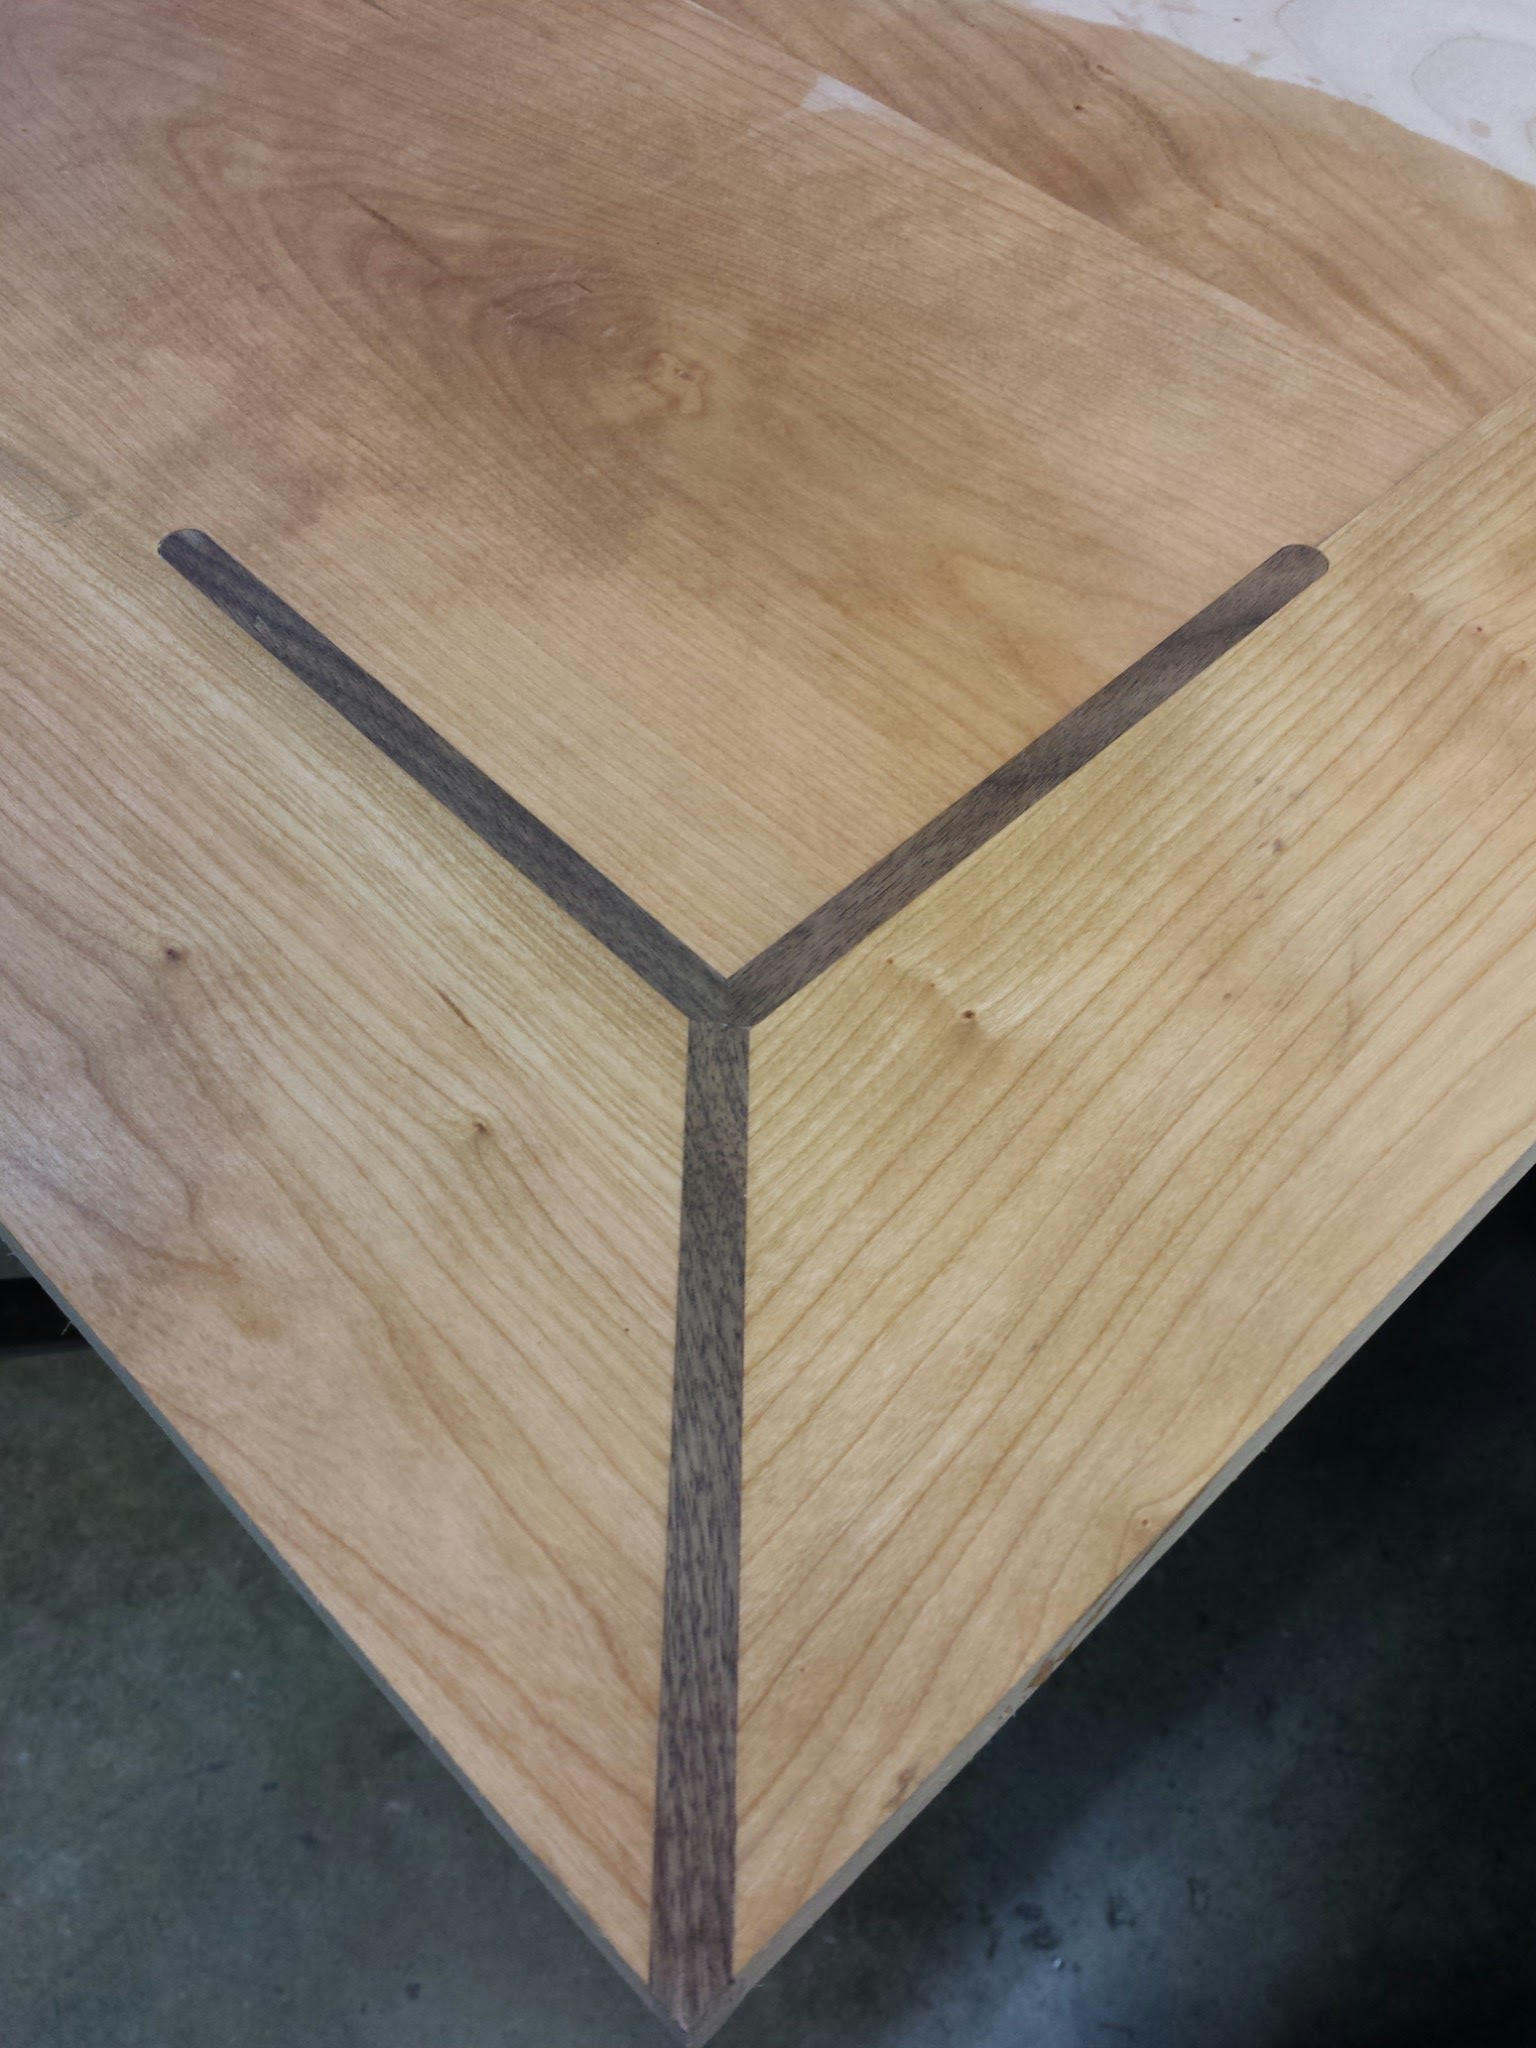
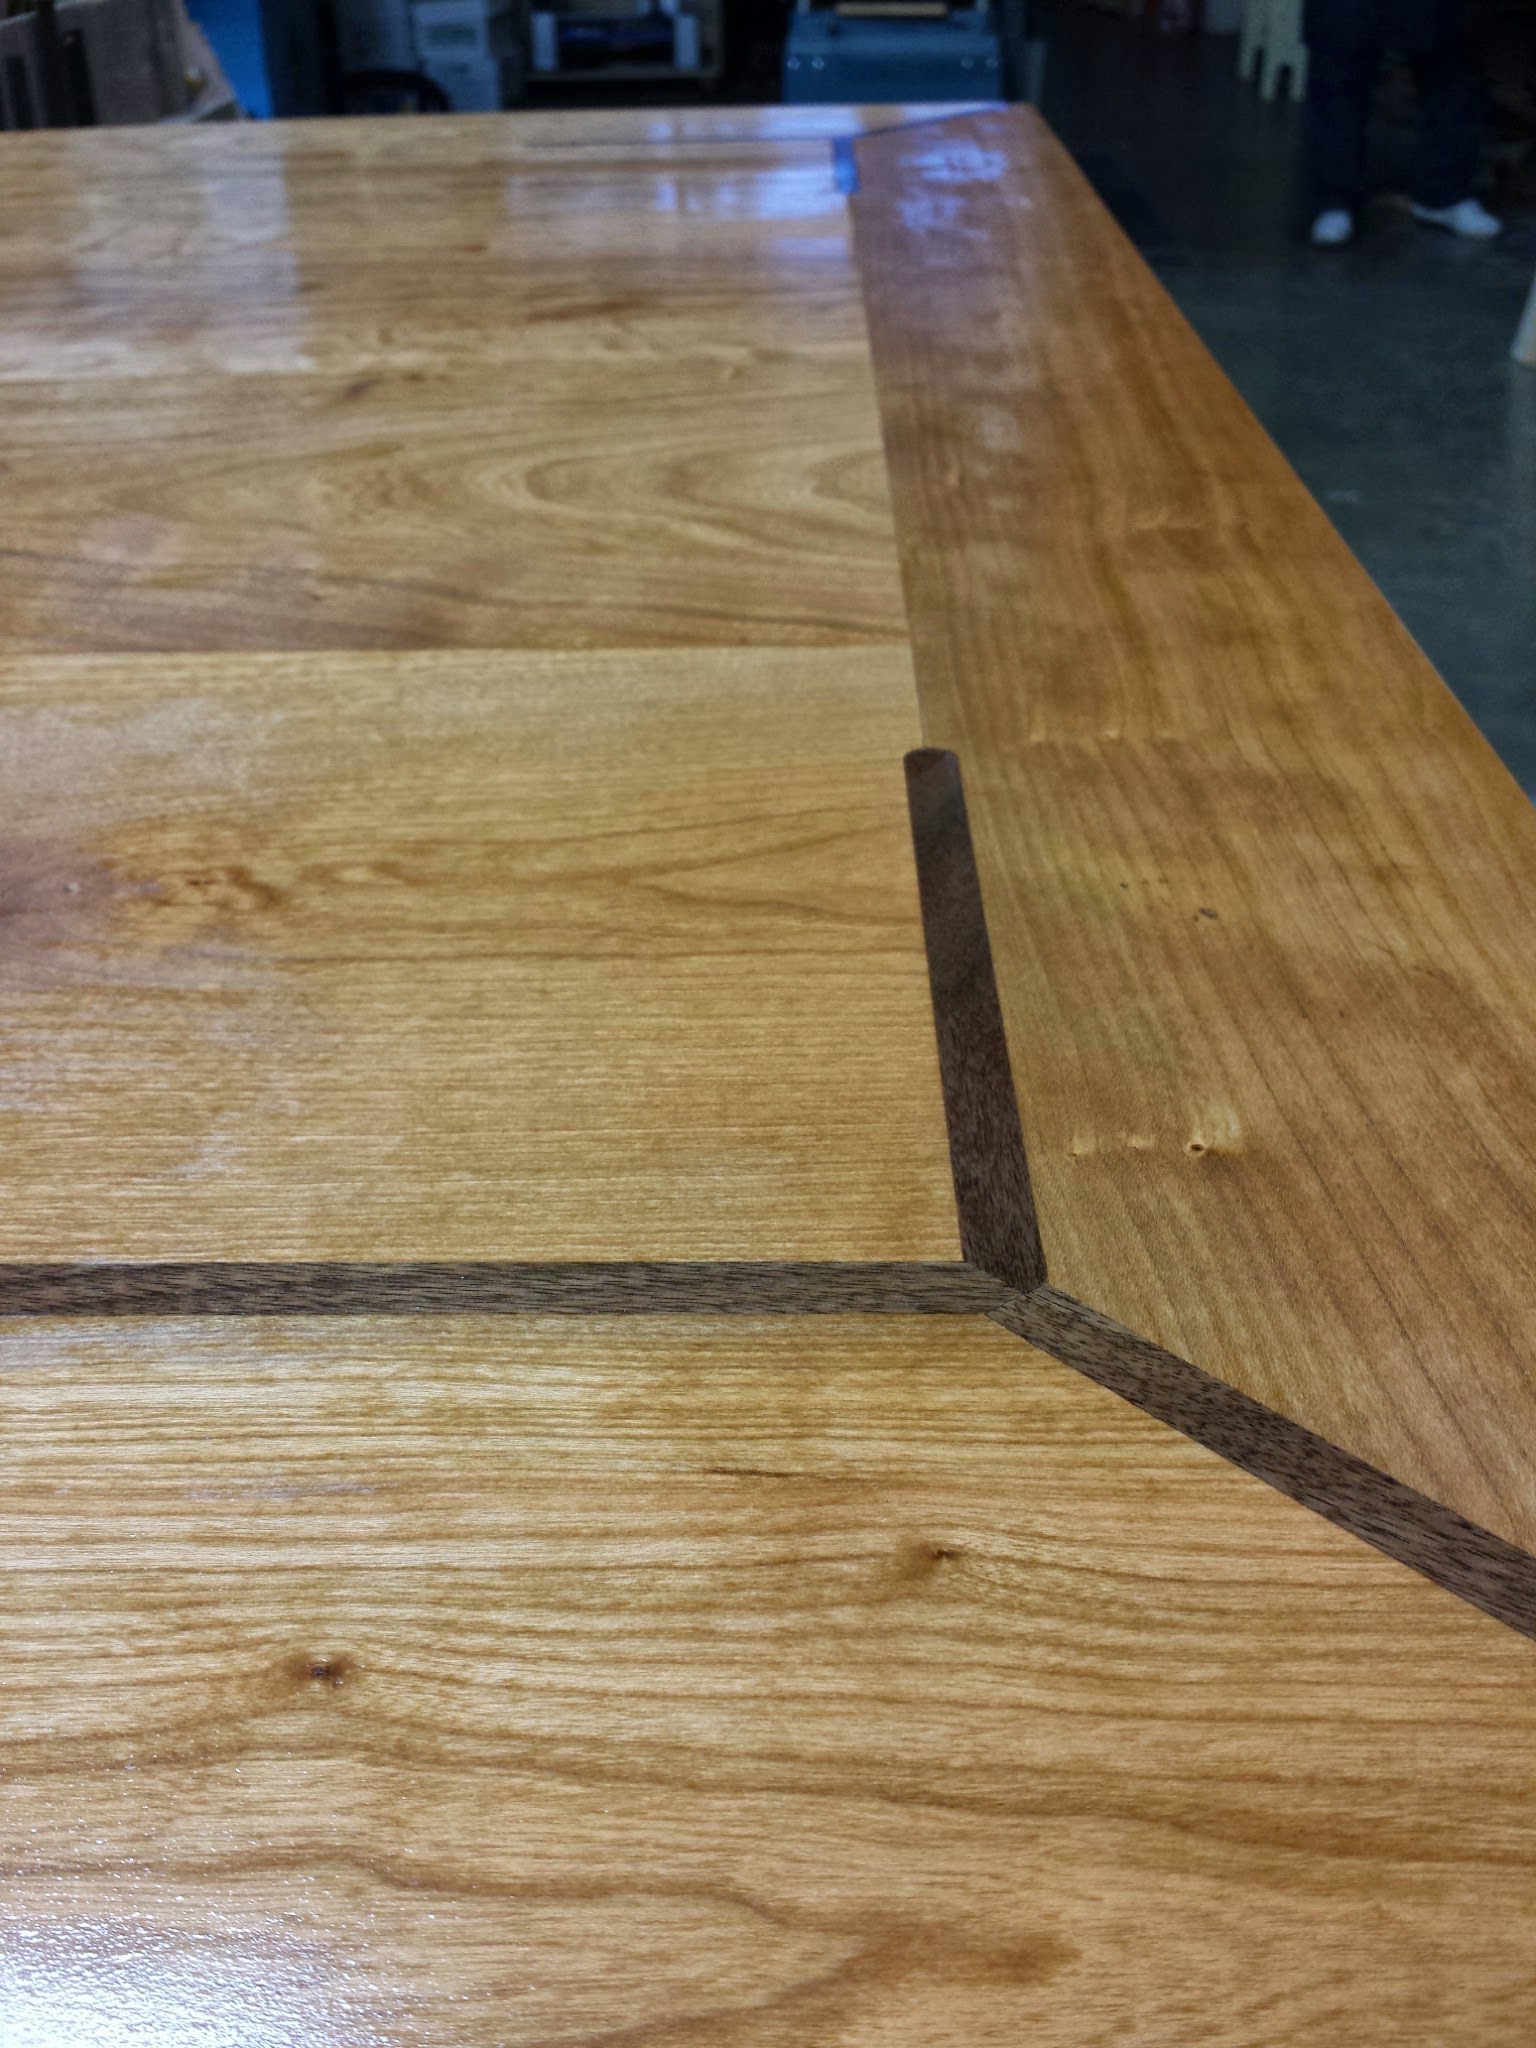
As far as materials, it’s solid cherry with walnut inlays in the corners.
I wanted the legs to be removable so I designed them to bolt to a diagonal board that runs from one apron to another.
Legs with taper
I started with the legs because it seemed like a good way to get my feet wet (or at least my legs glued).
After gluing four boards to each other I used the bandsaw to square them off. Then I cut a taper in the legs to give them a little style.
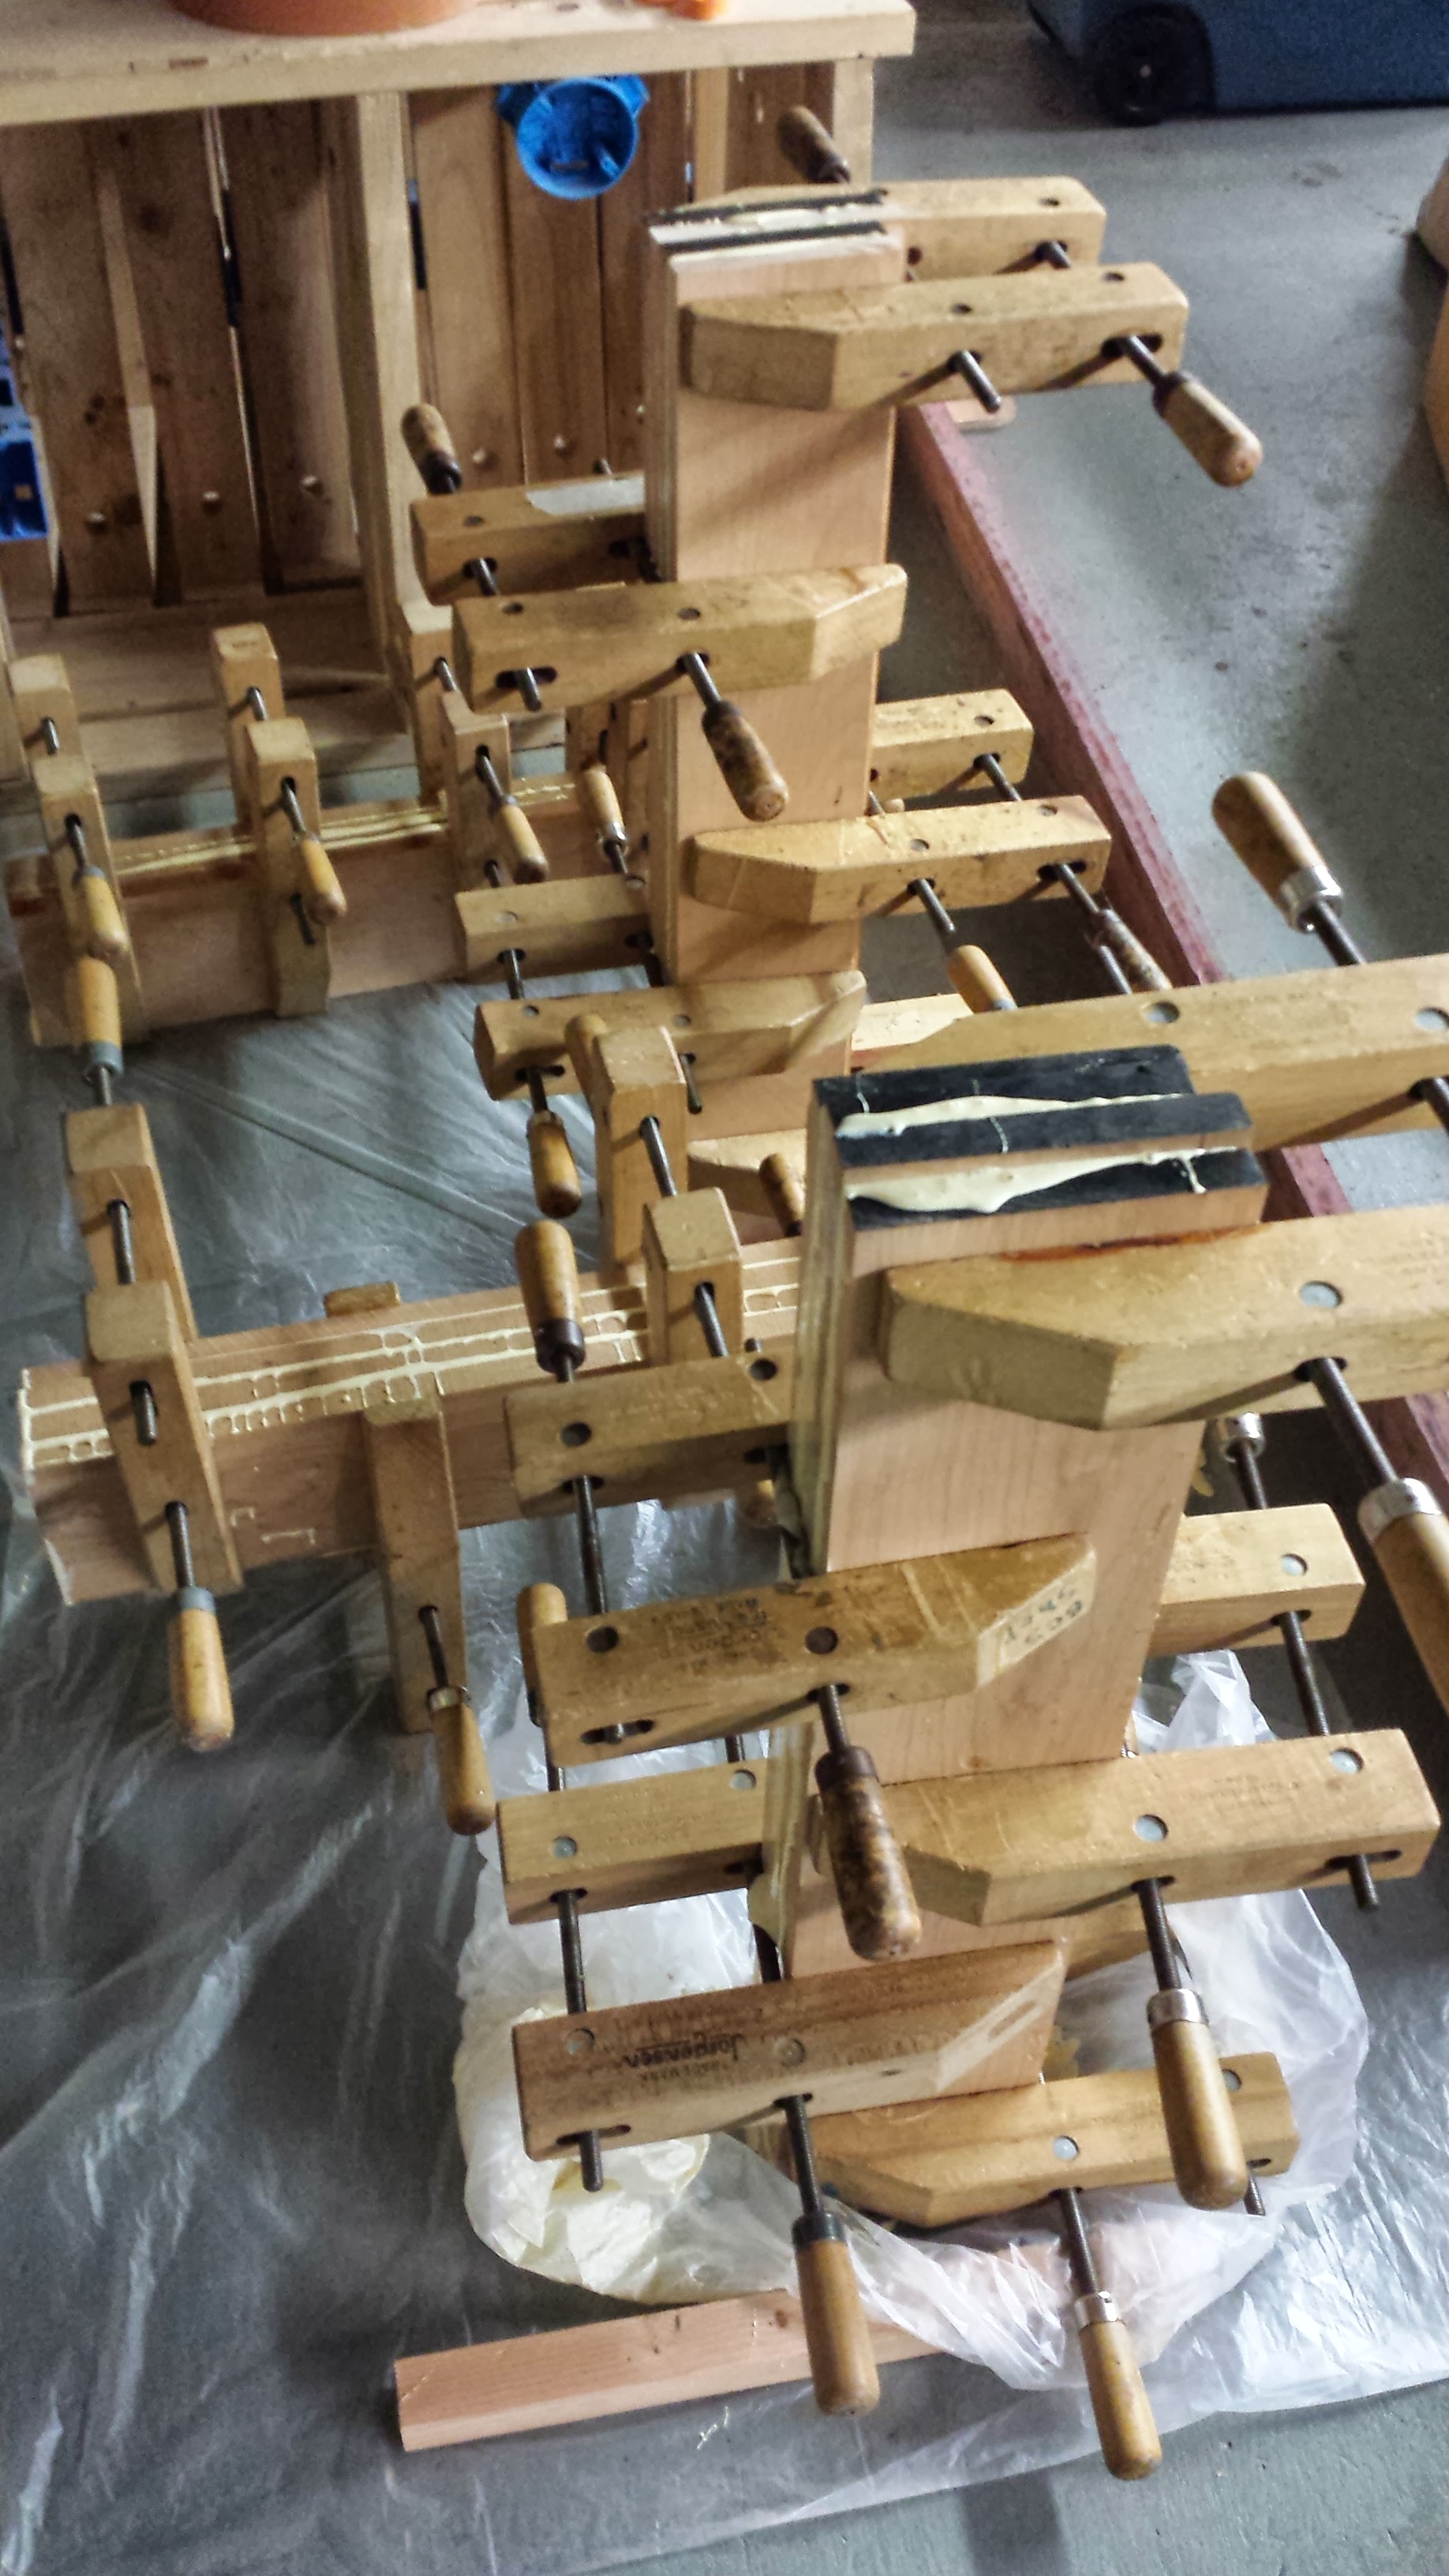
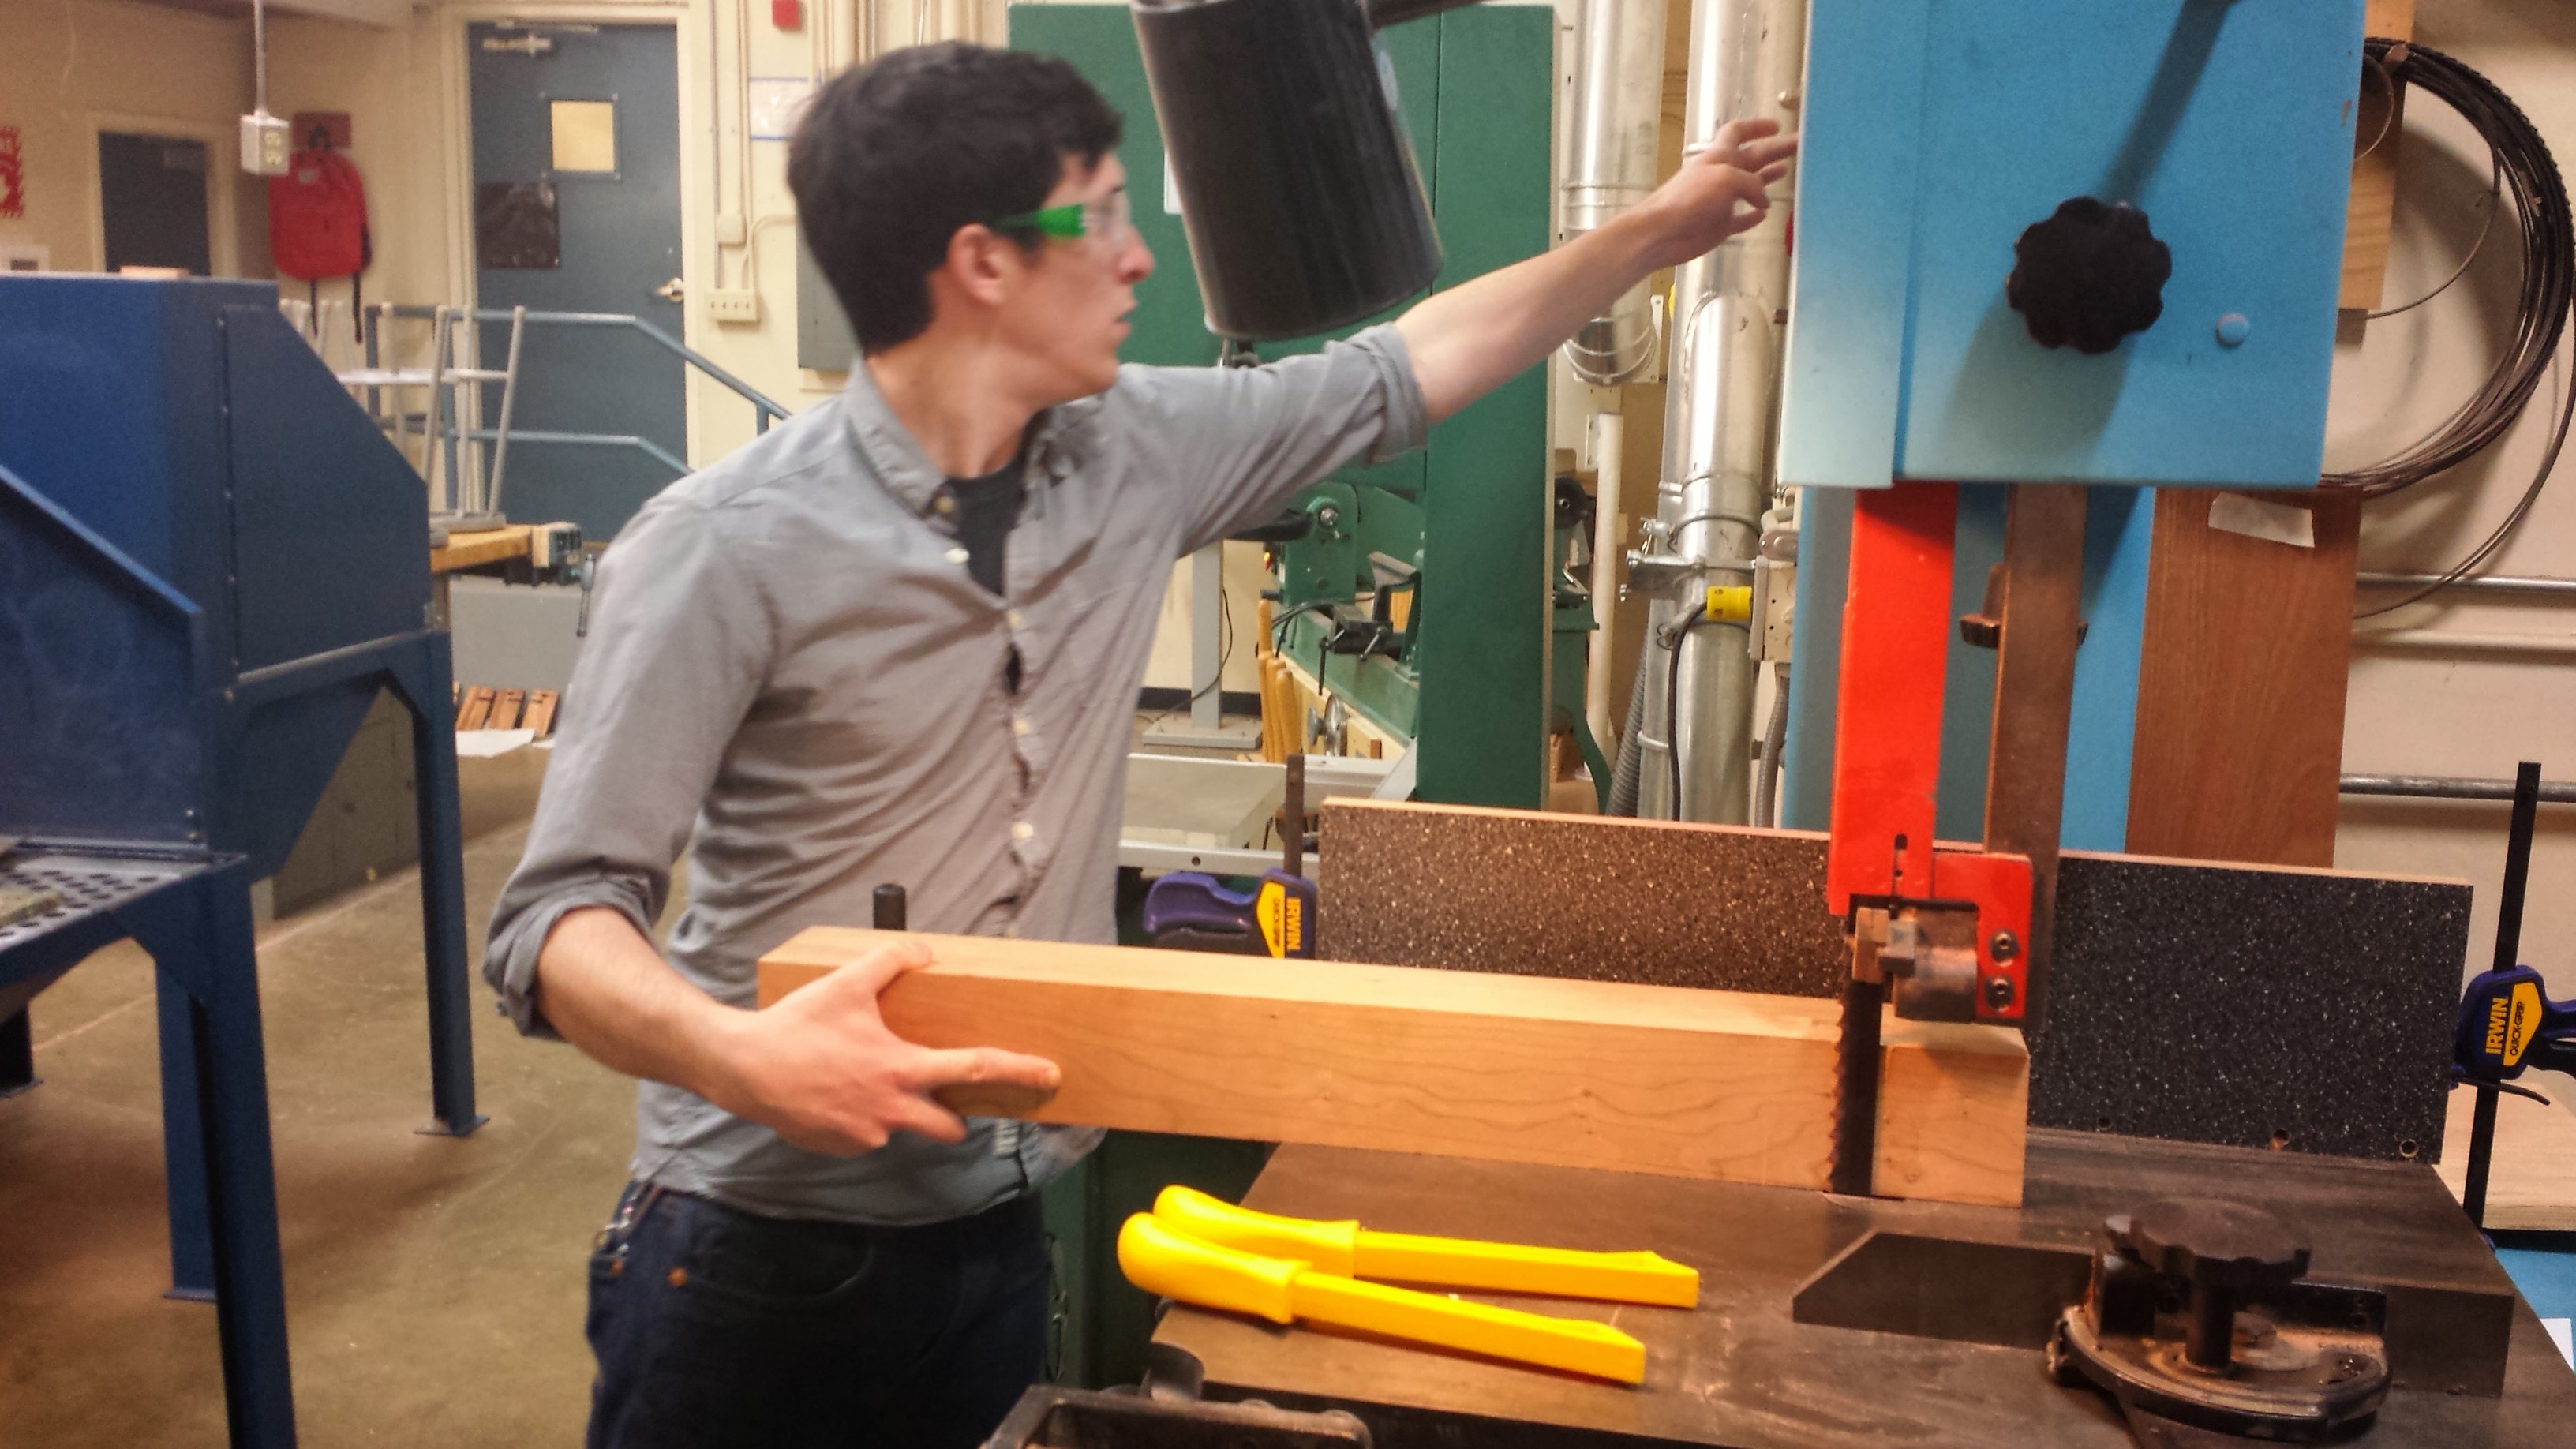
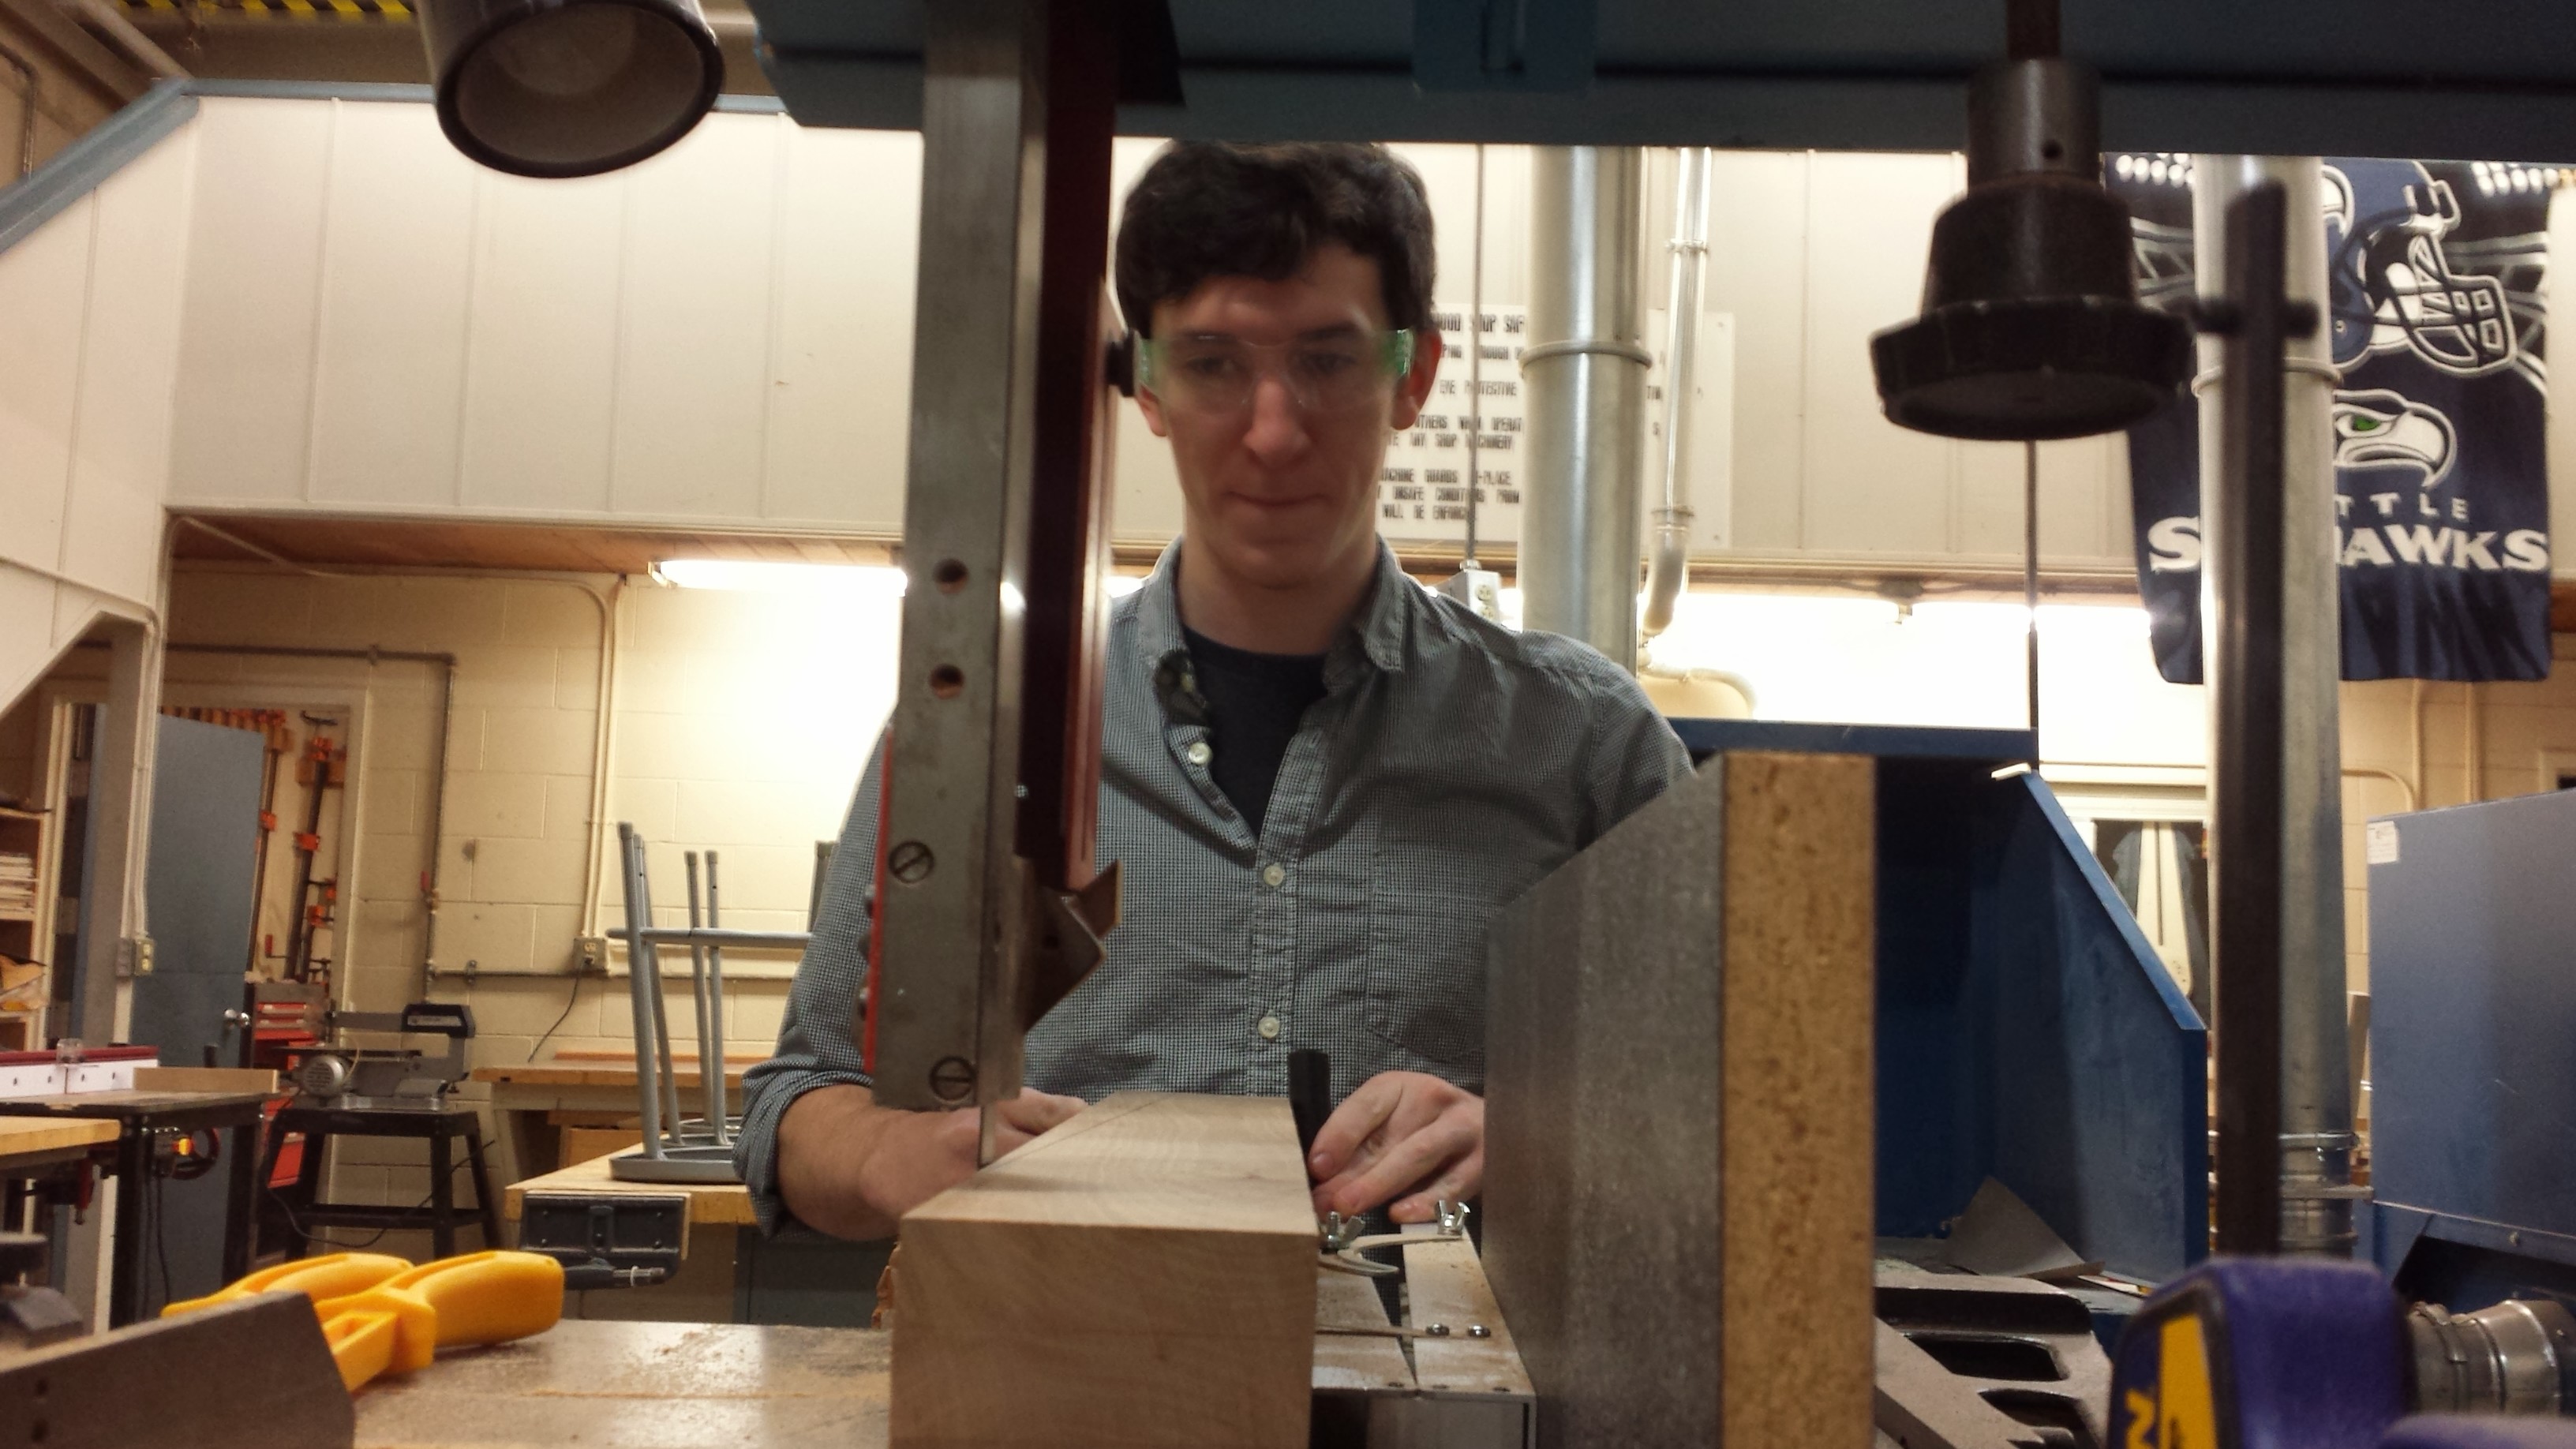
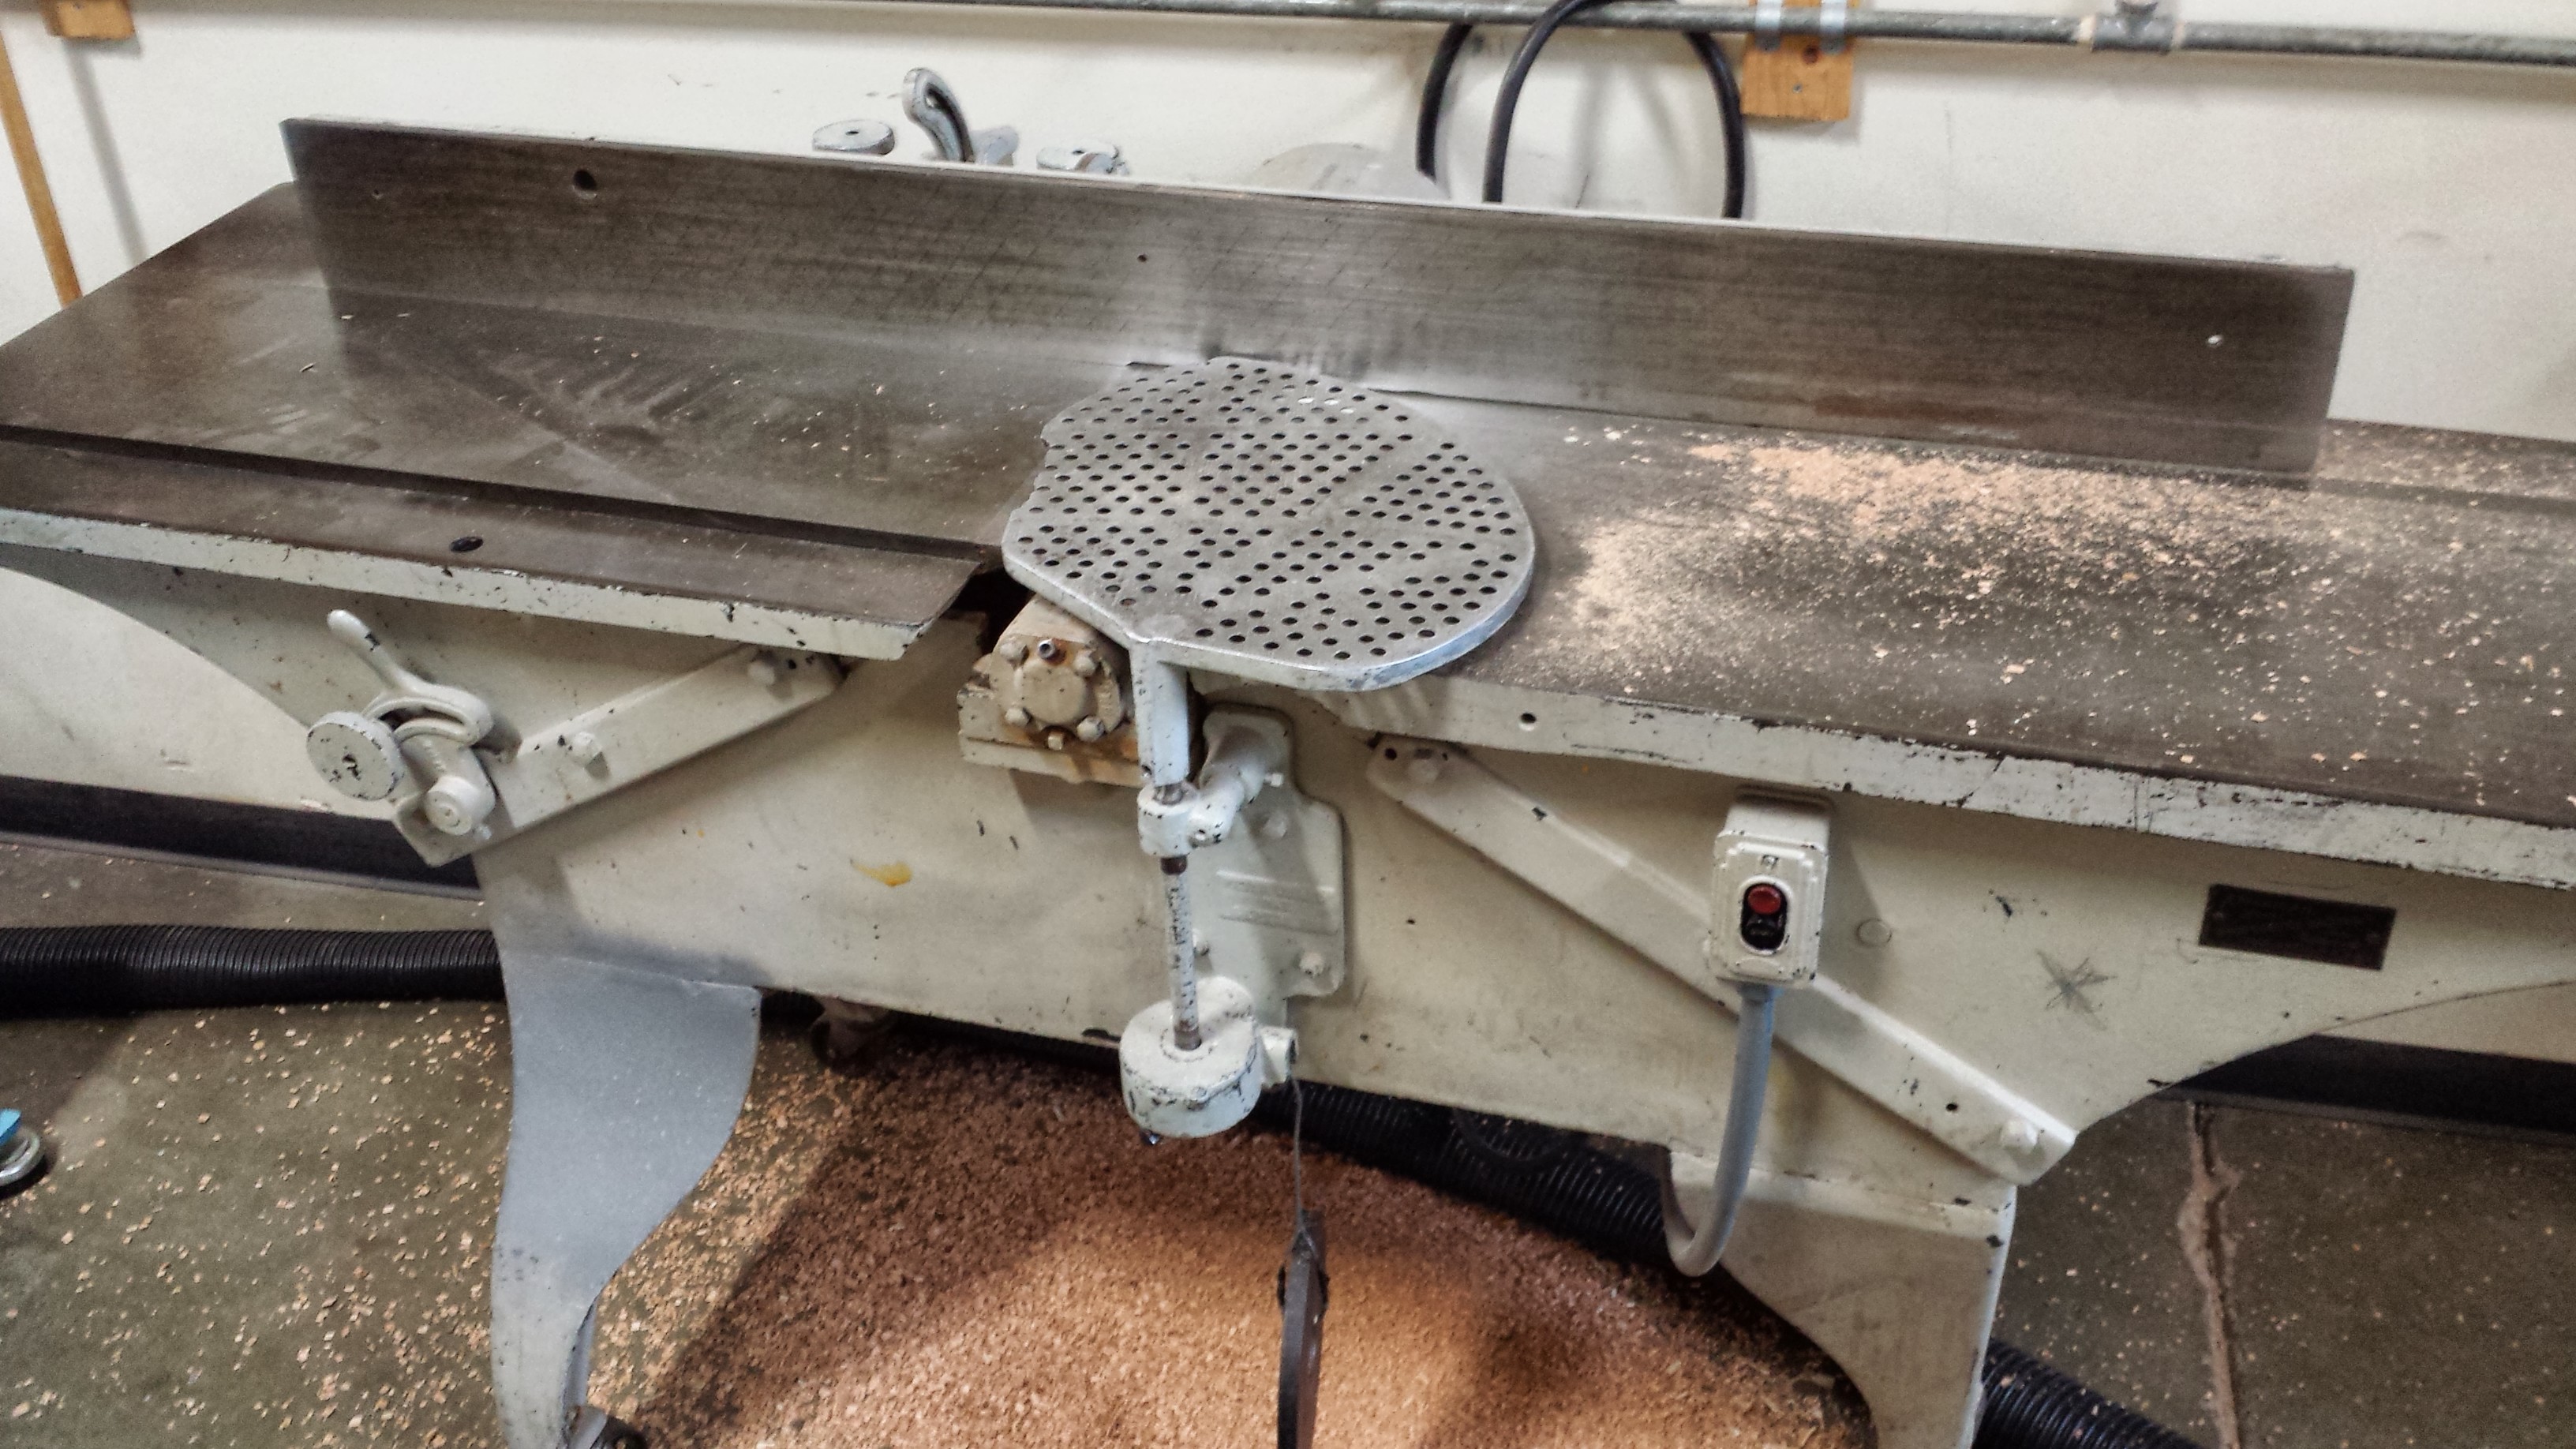
Table top joinery
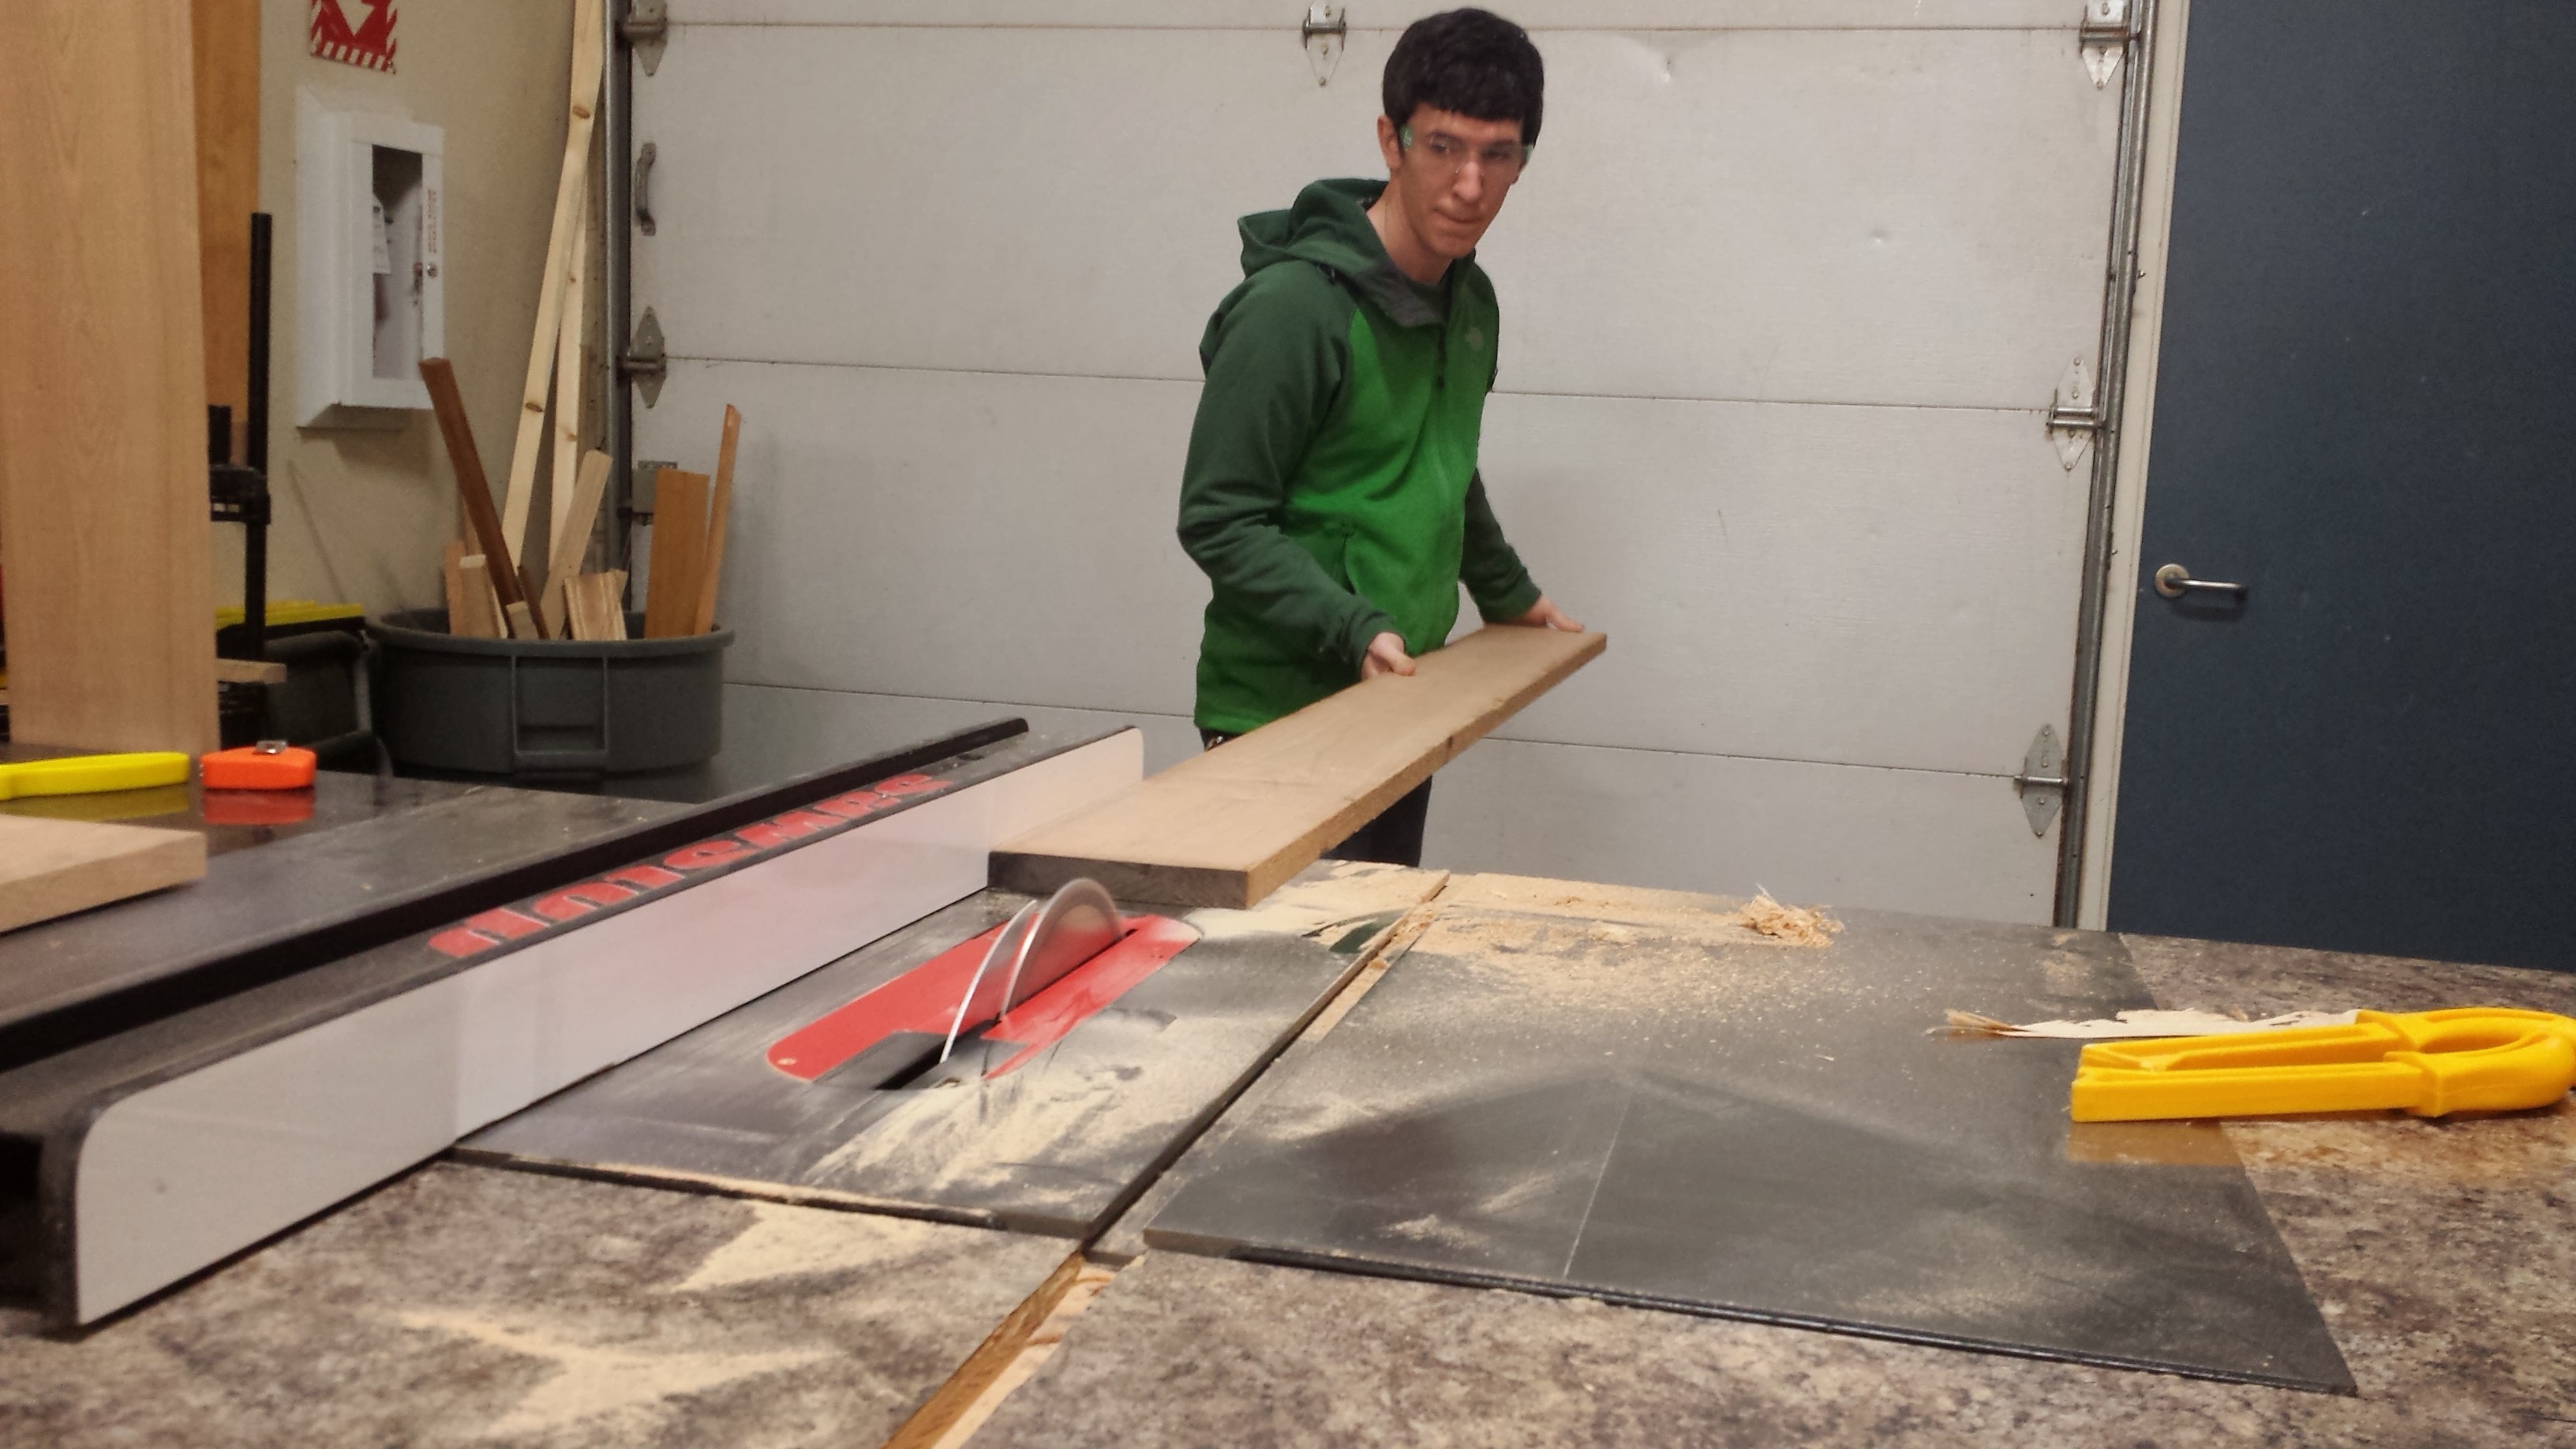
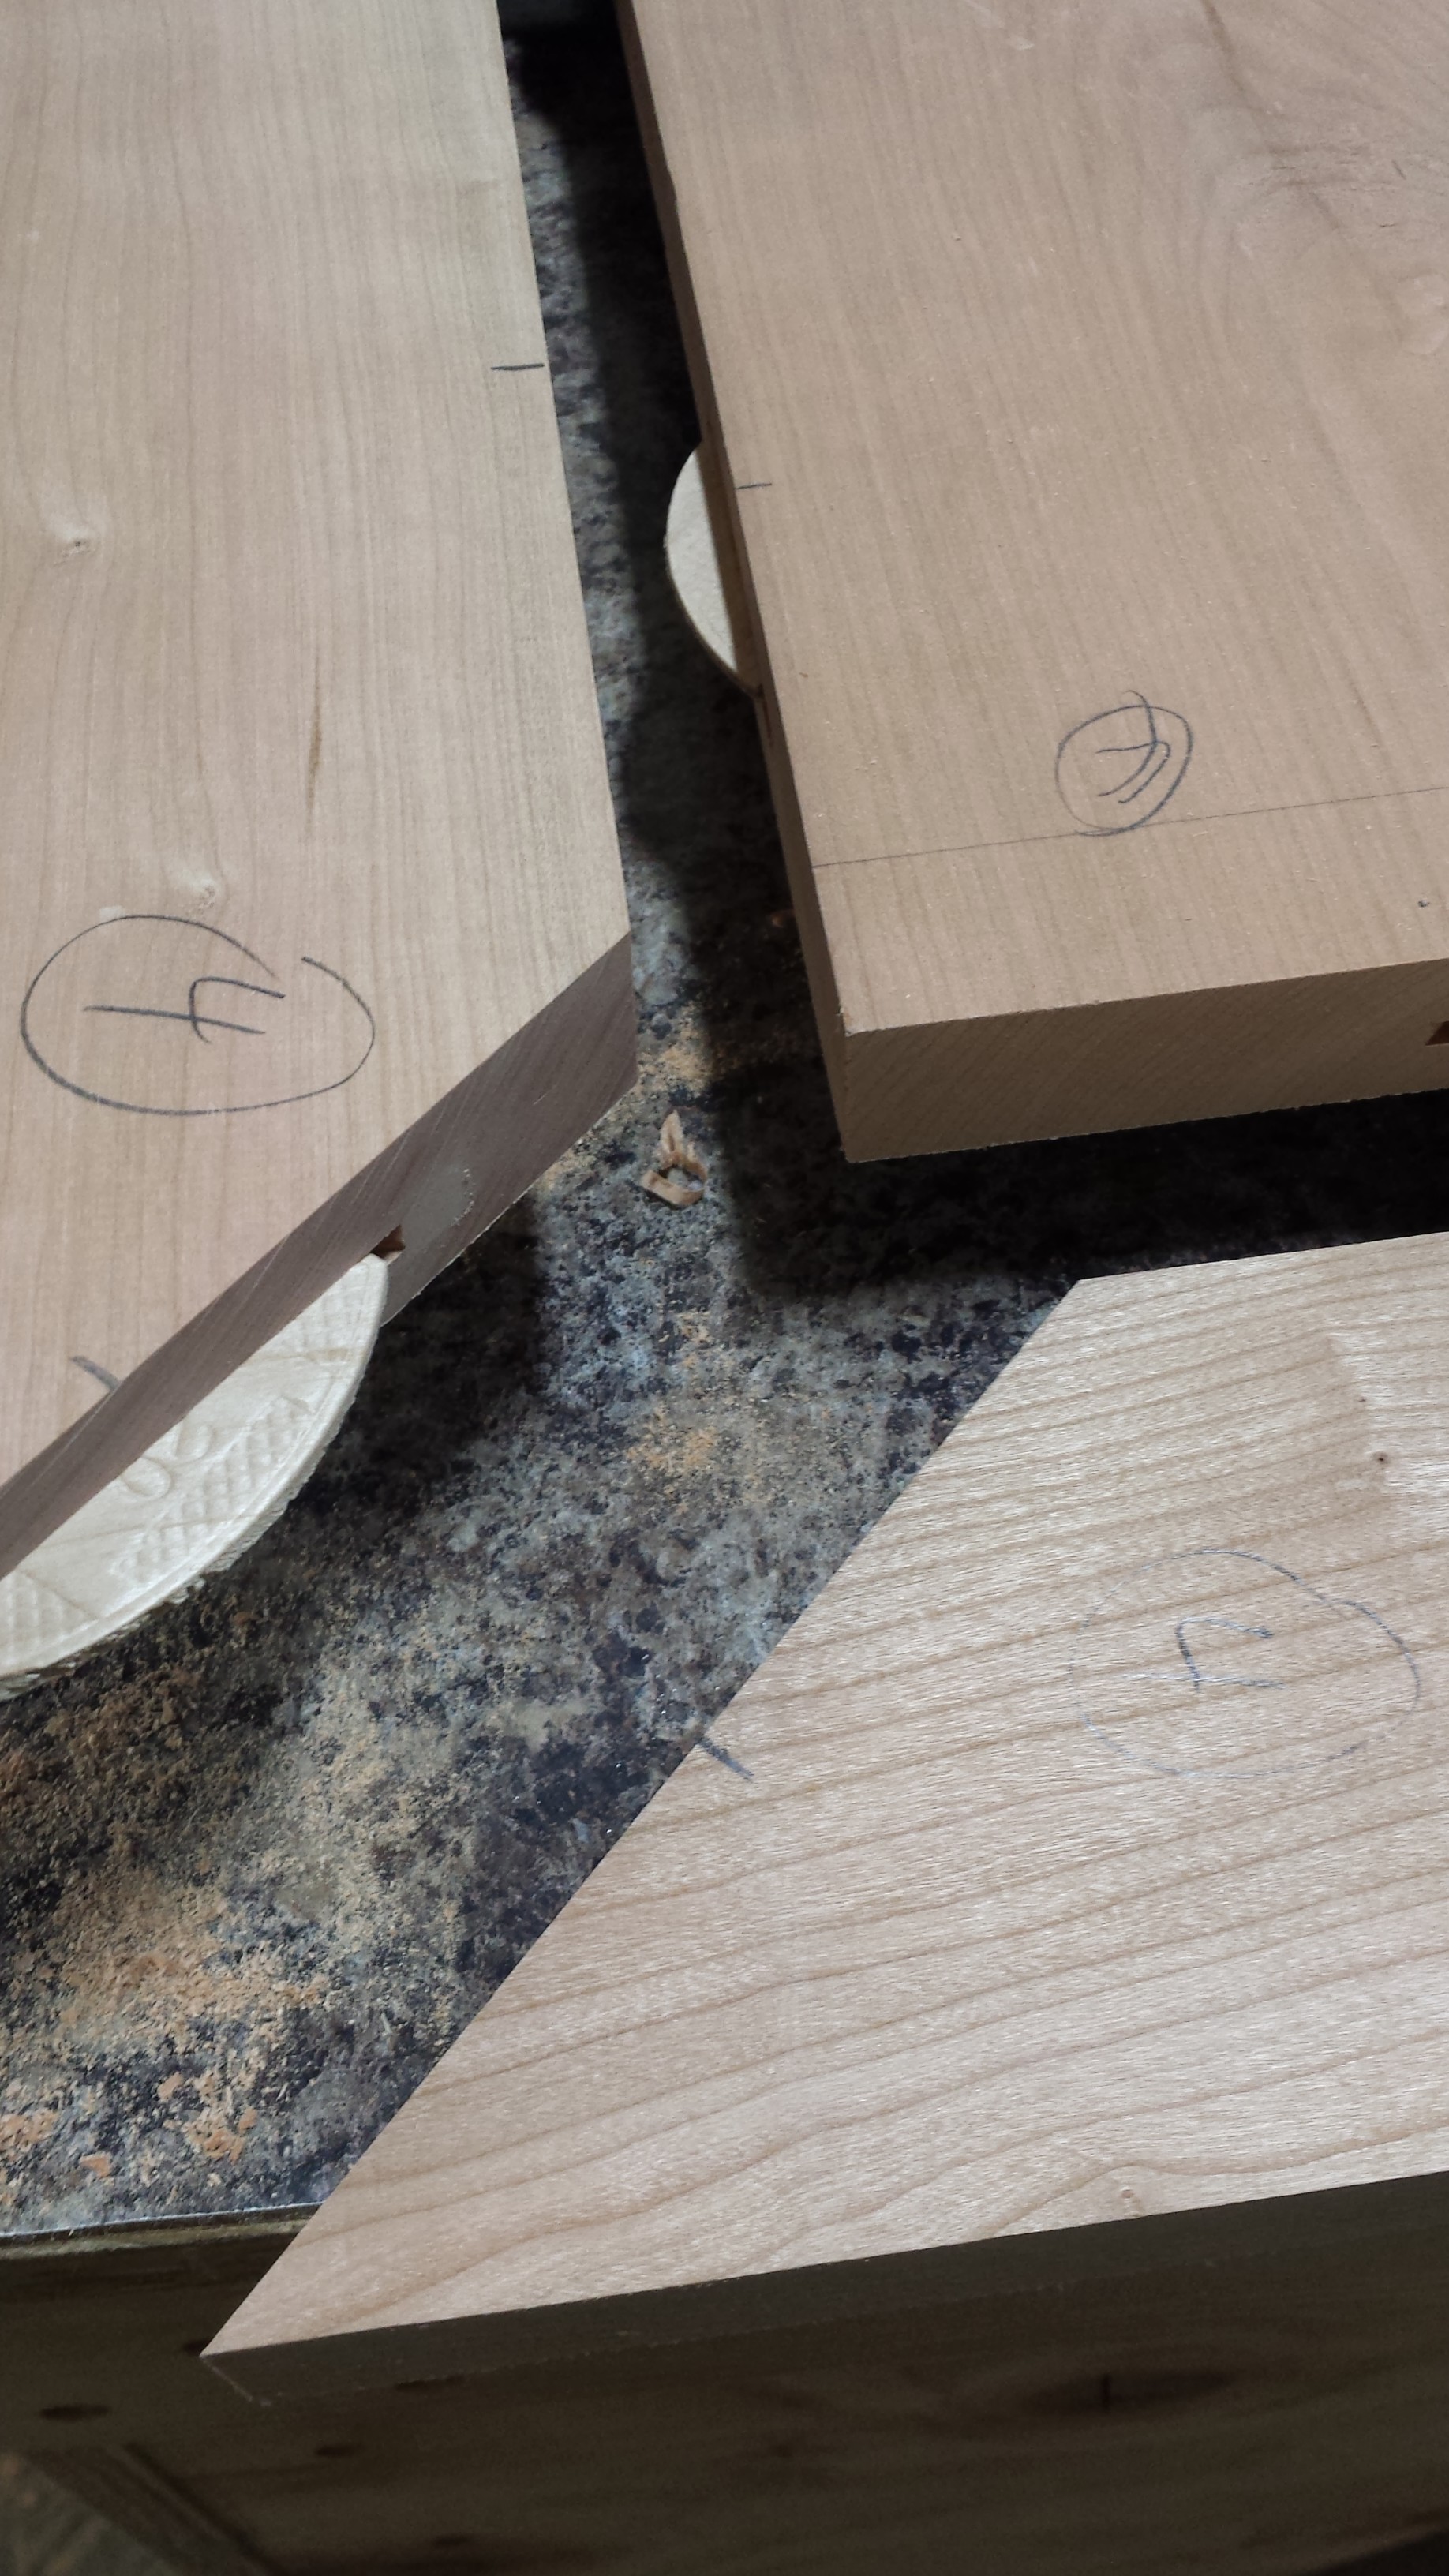
Since the boards are 96" long (is that right?), if the edges aren’t parallel and straight gaps will form in the joinery. So I started off by using the jointer to square one edge of every board in the table top. Once I knew one edge was straight, I ripped the other edge on the table saw by putting the straight edge against the fence. Just to make sure everything was going to work, I dry fit it all together.
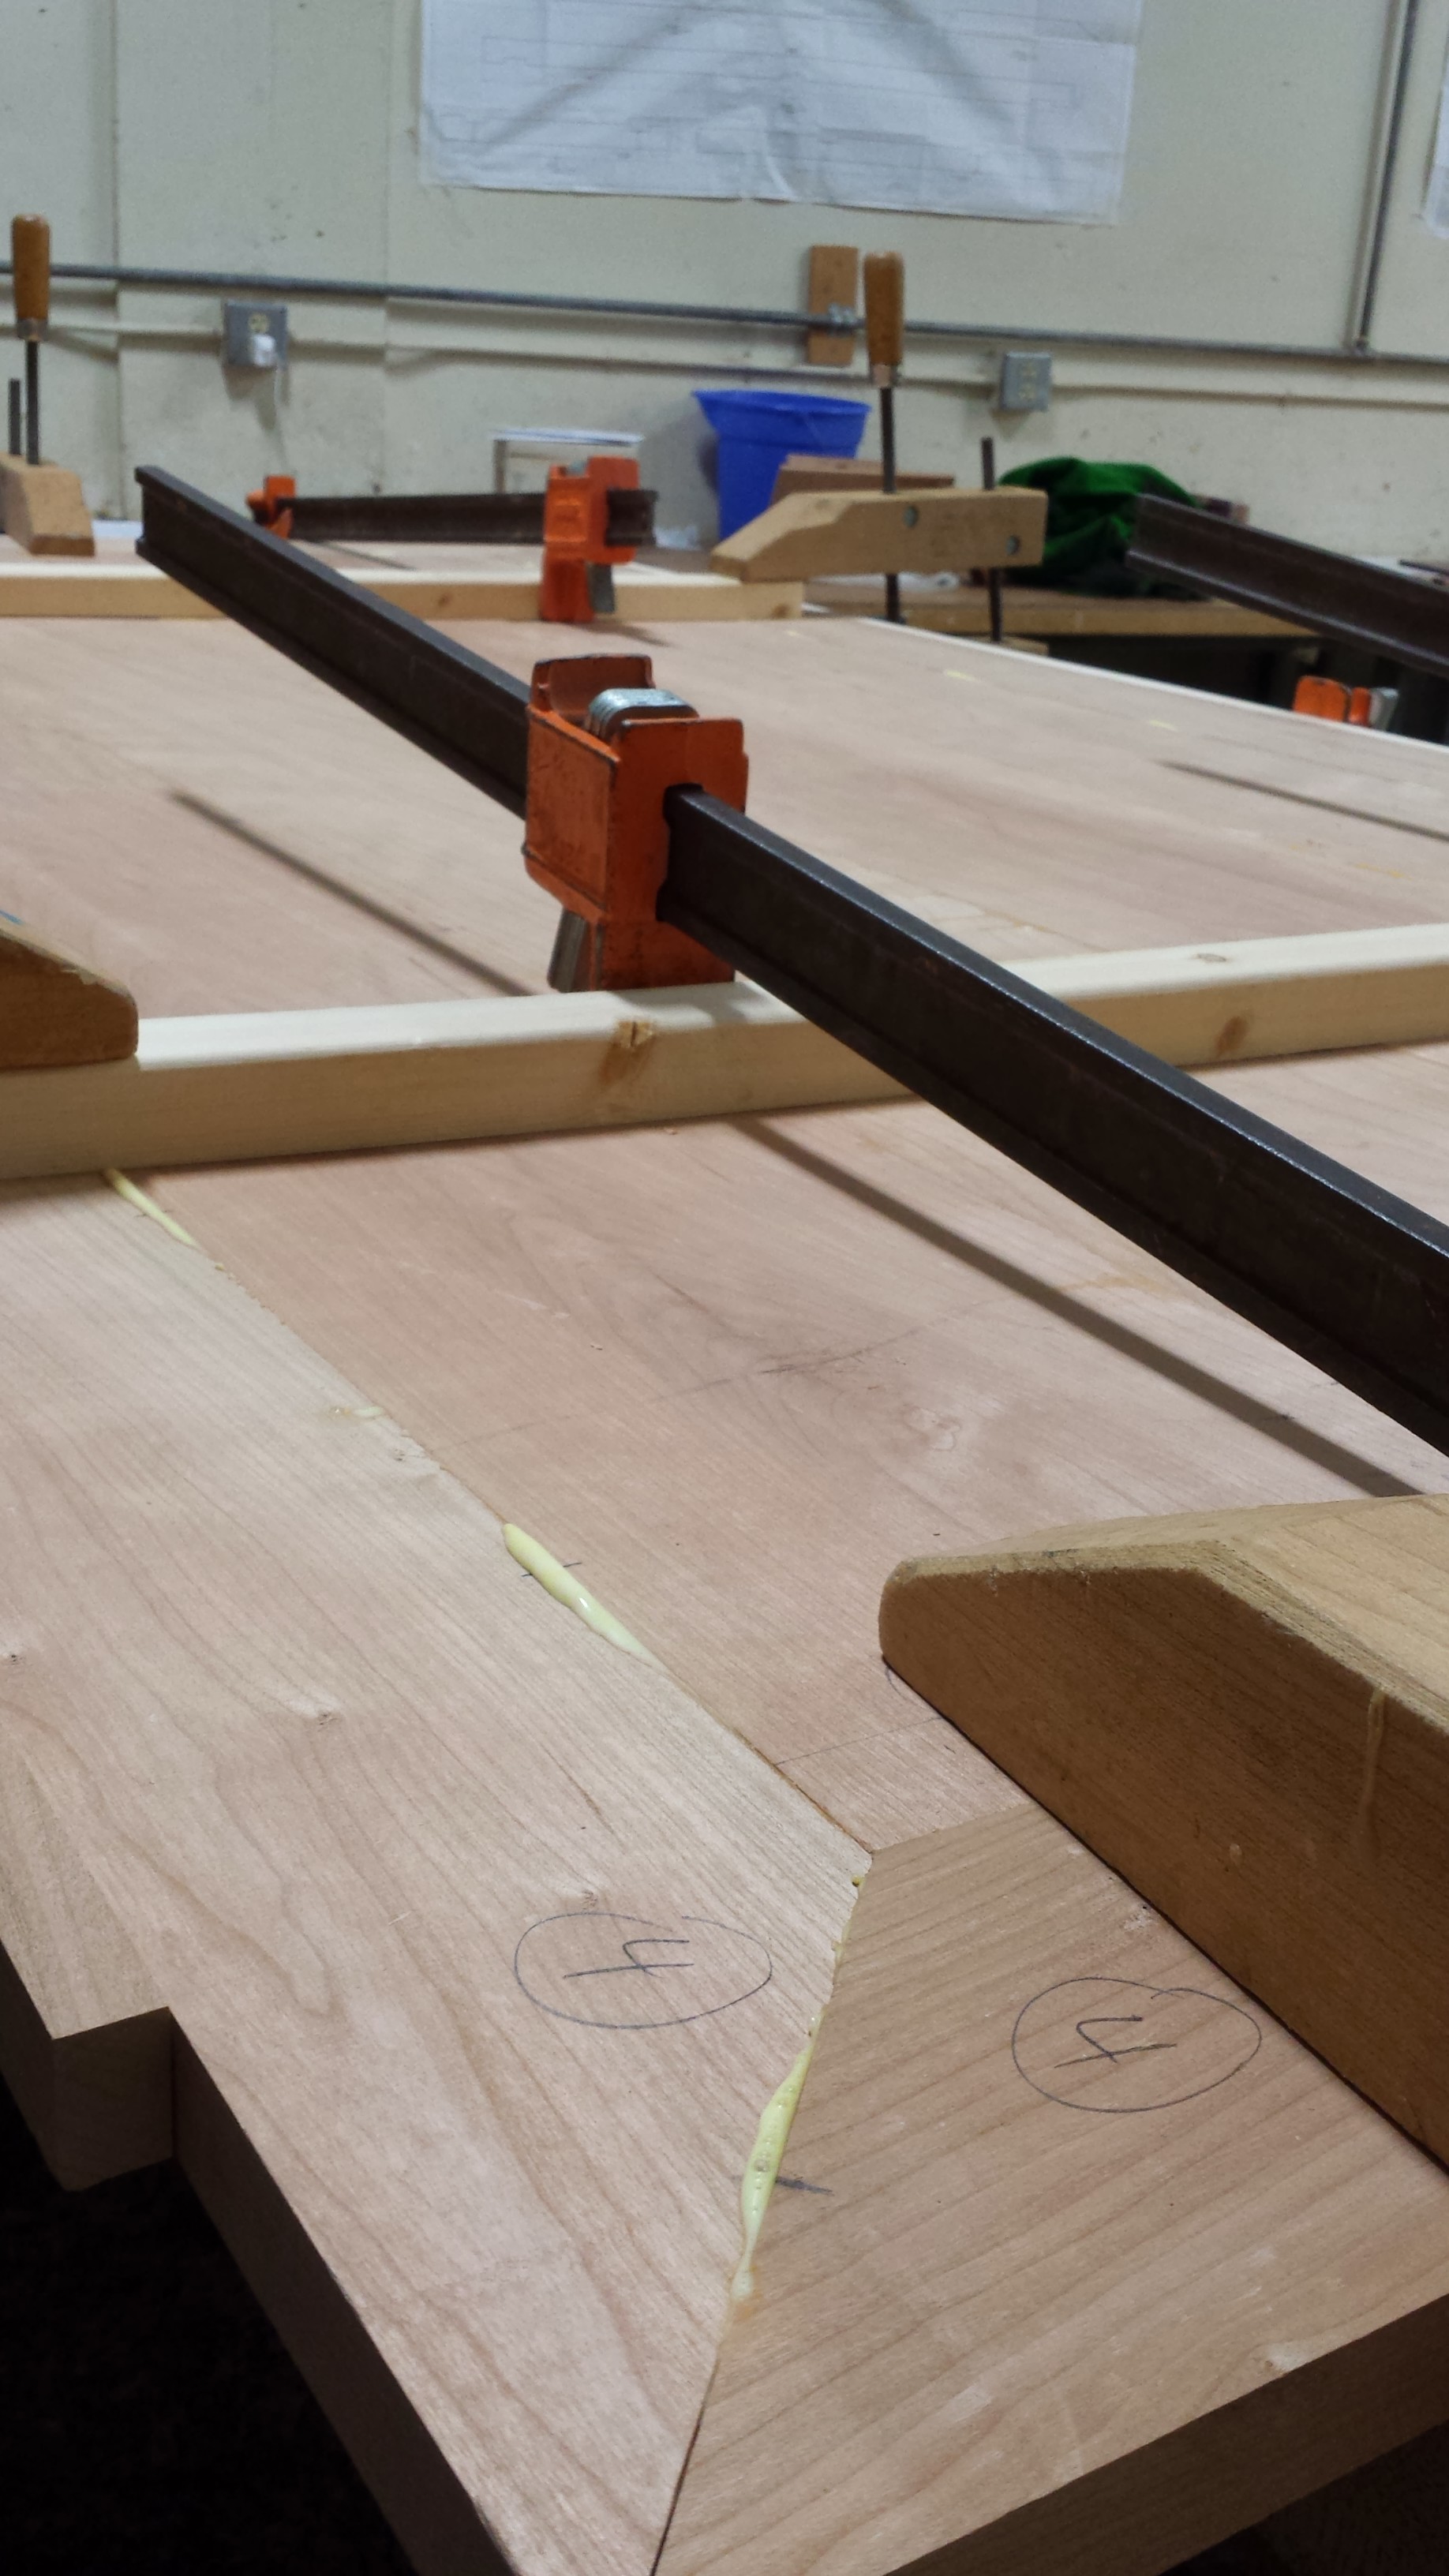
Now for the yummiest part: biscuits and gravy.
The edge-to-edge joints in the table top use biscuits but the apron’s butt joint uses dowels.

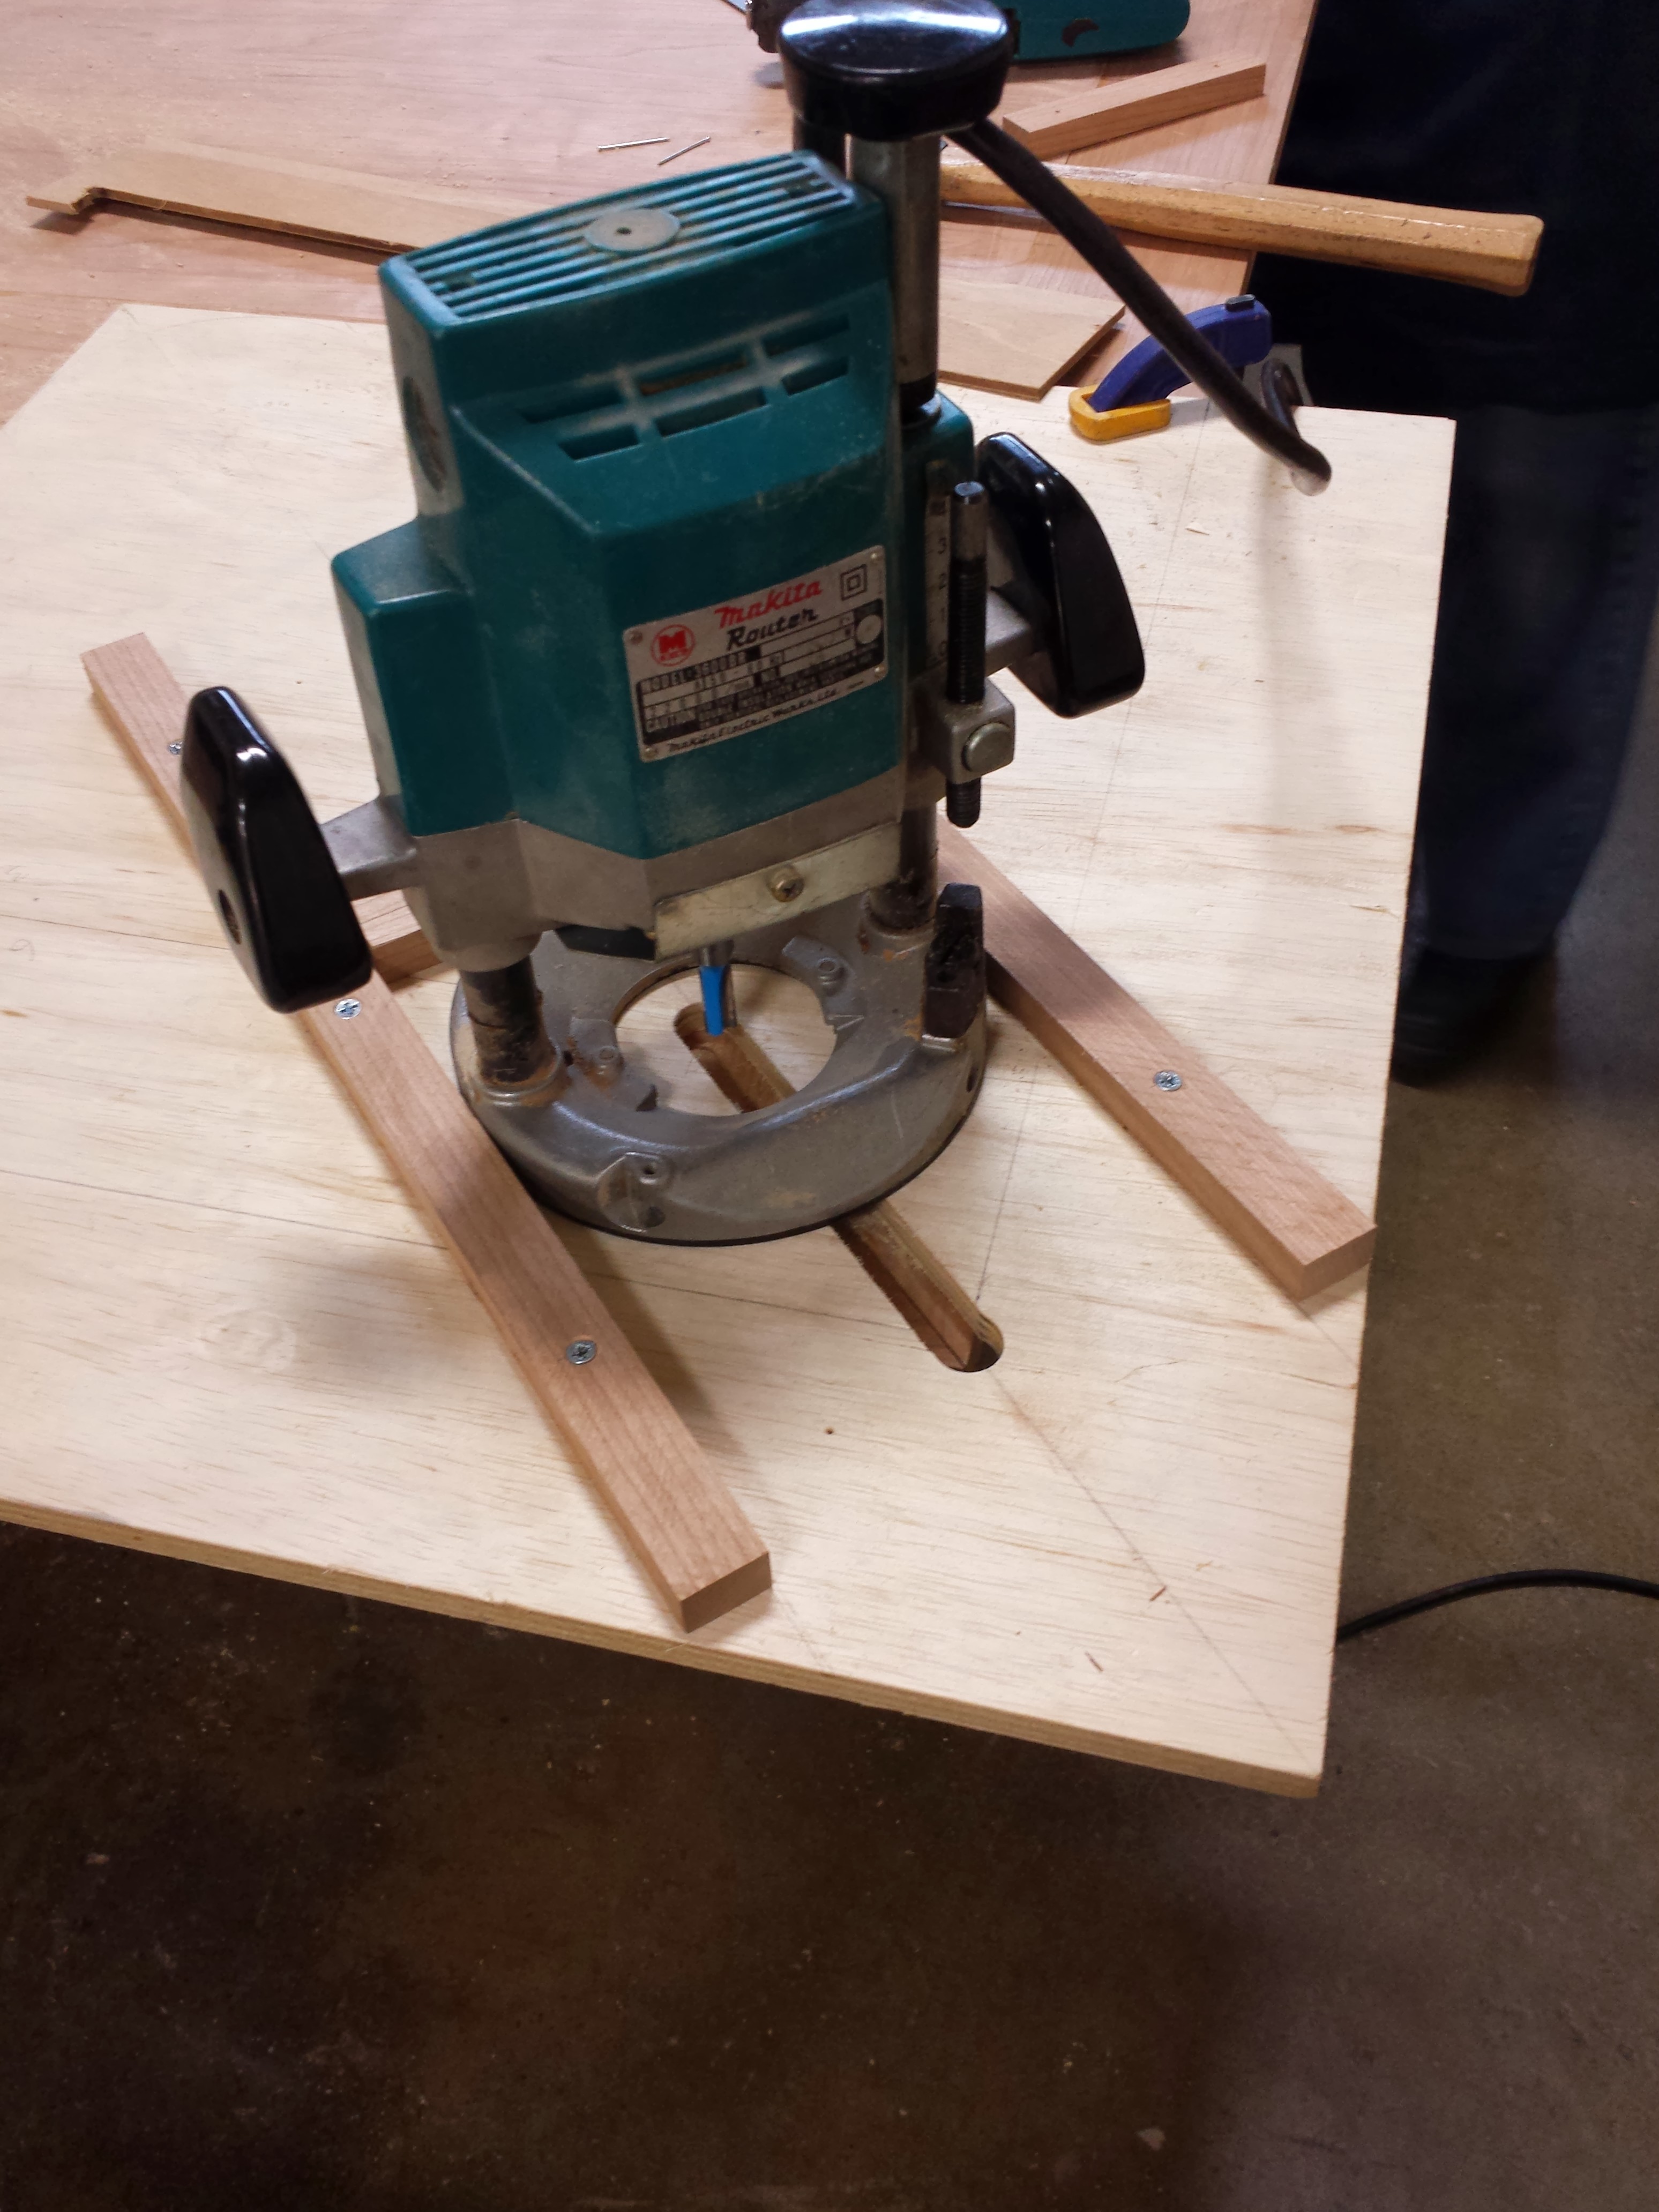
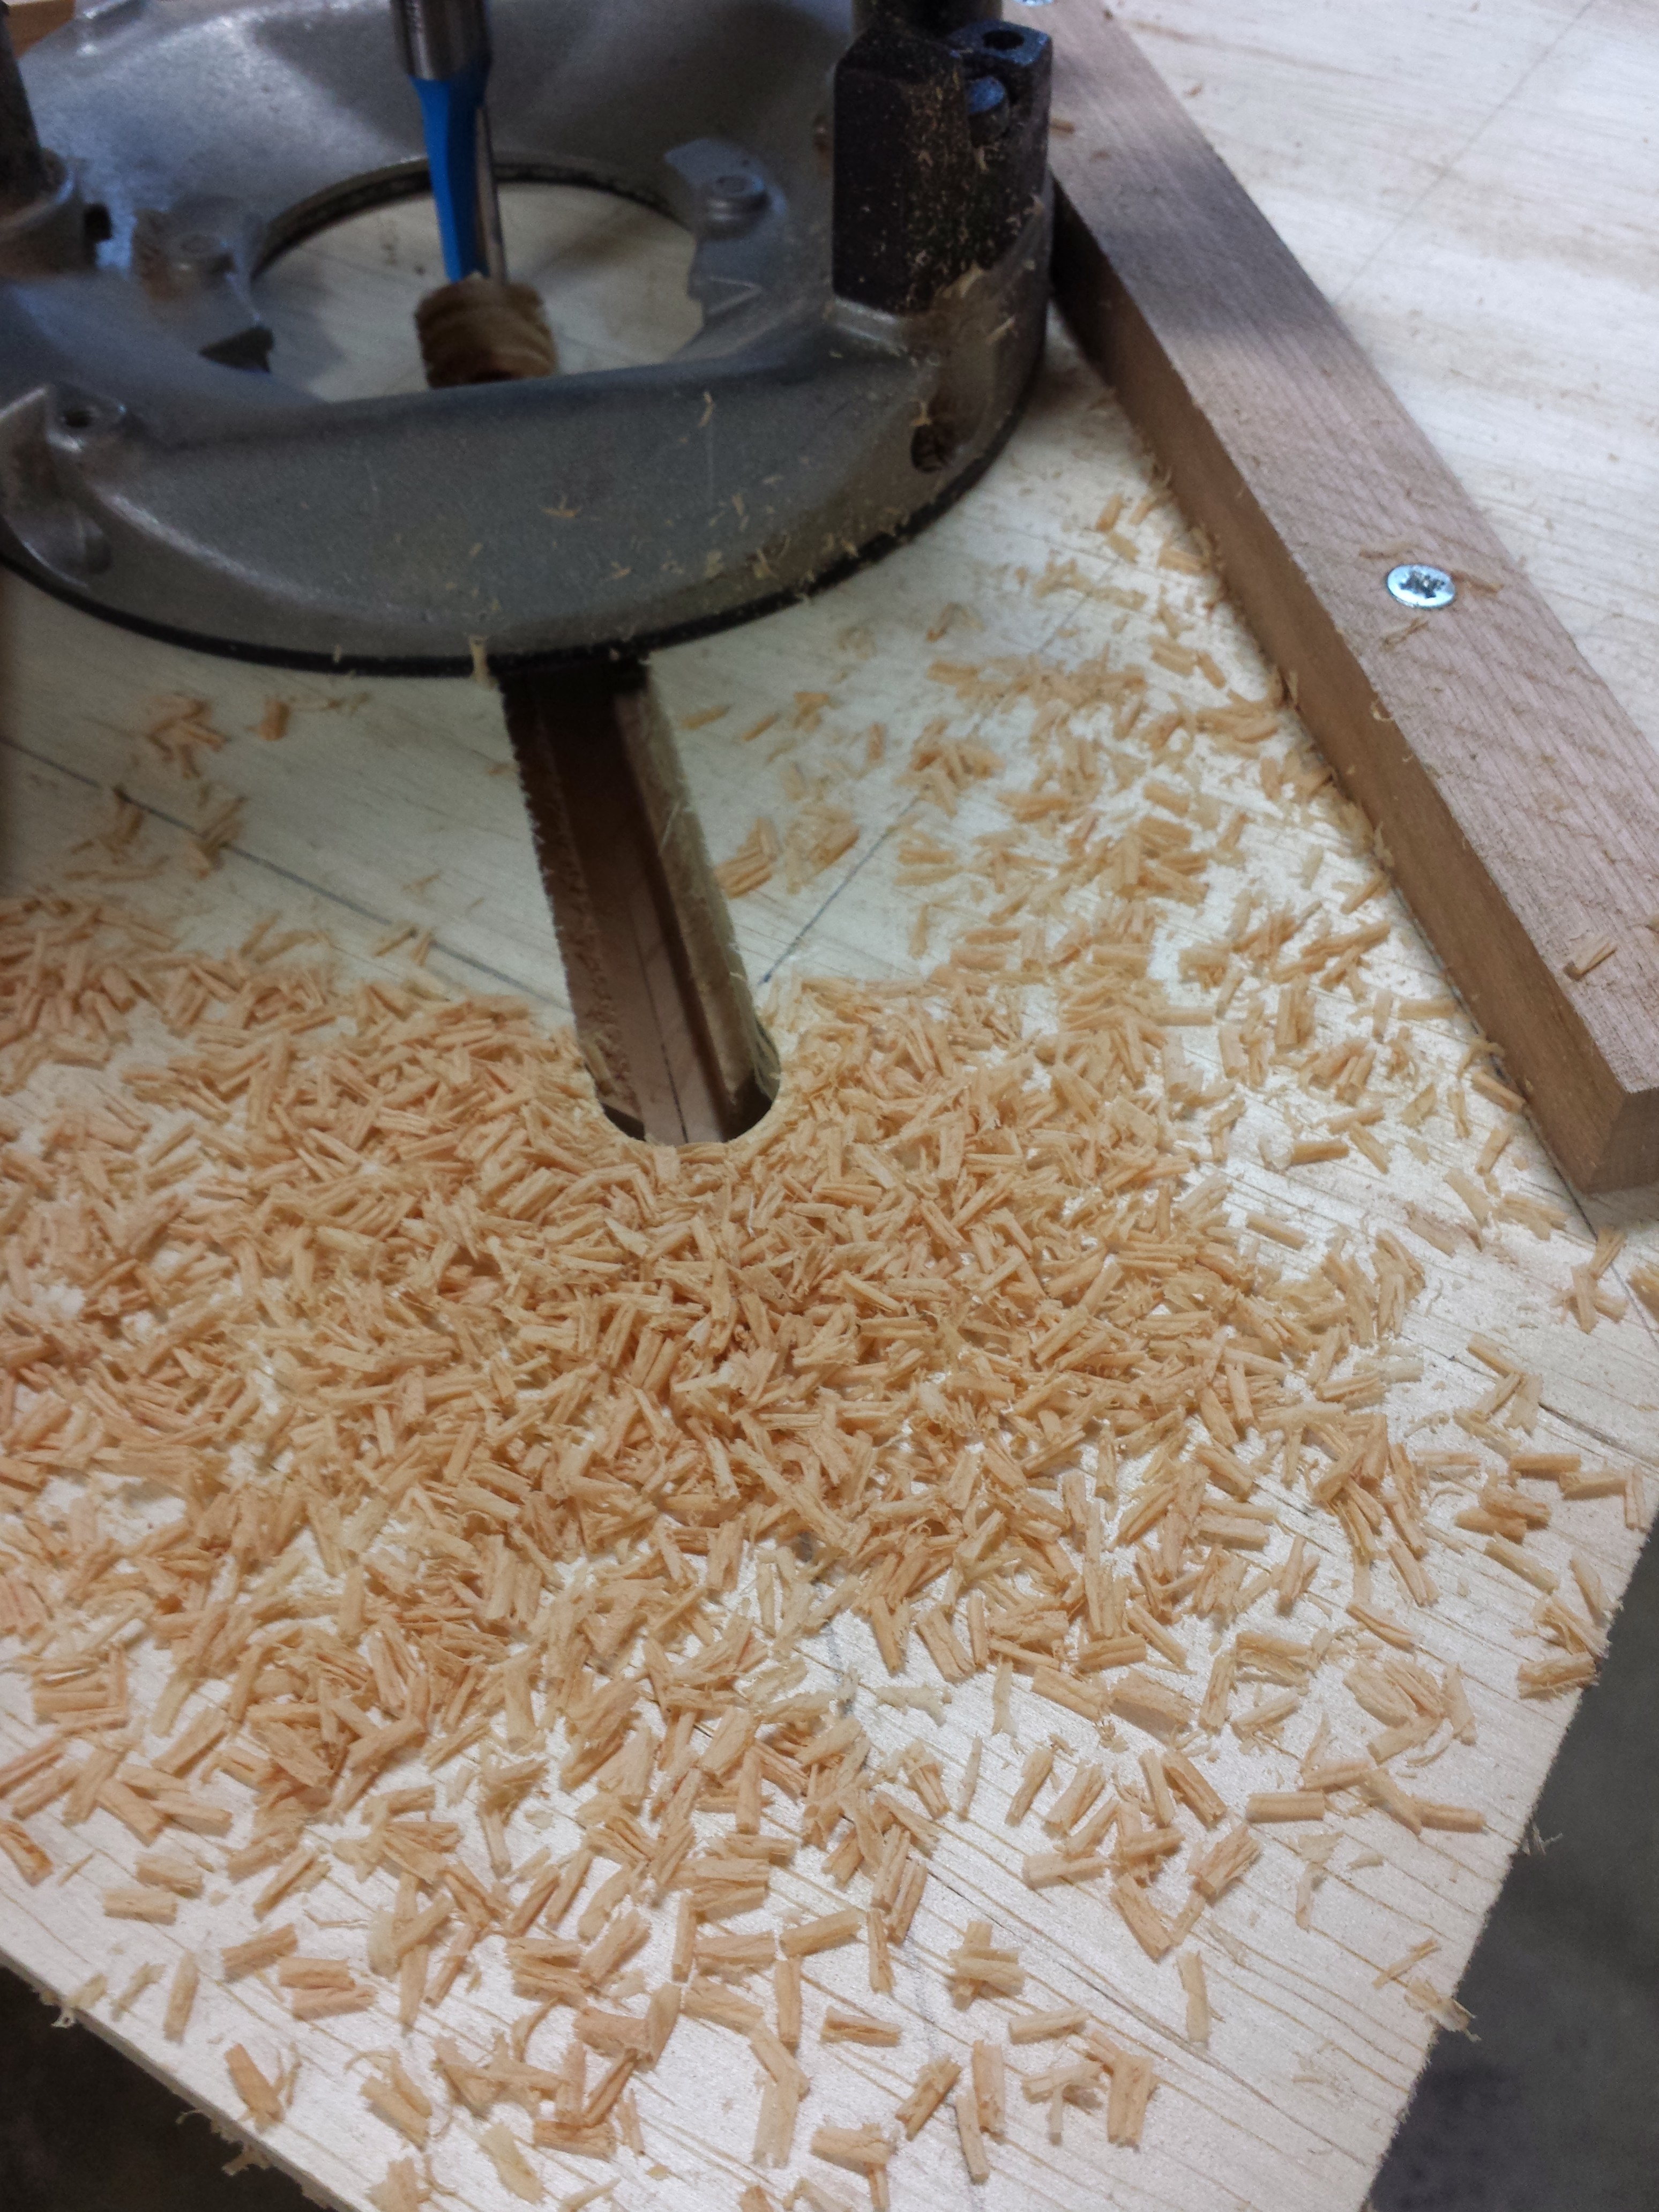
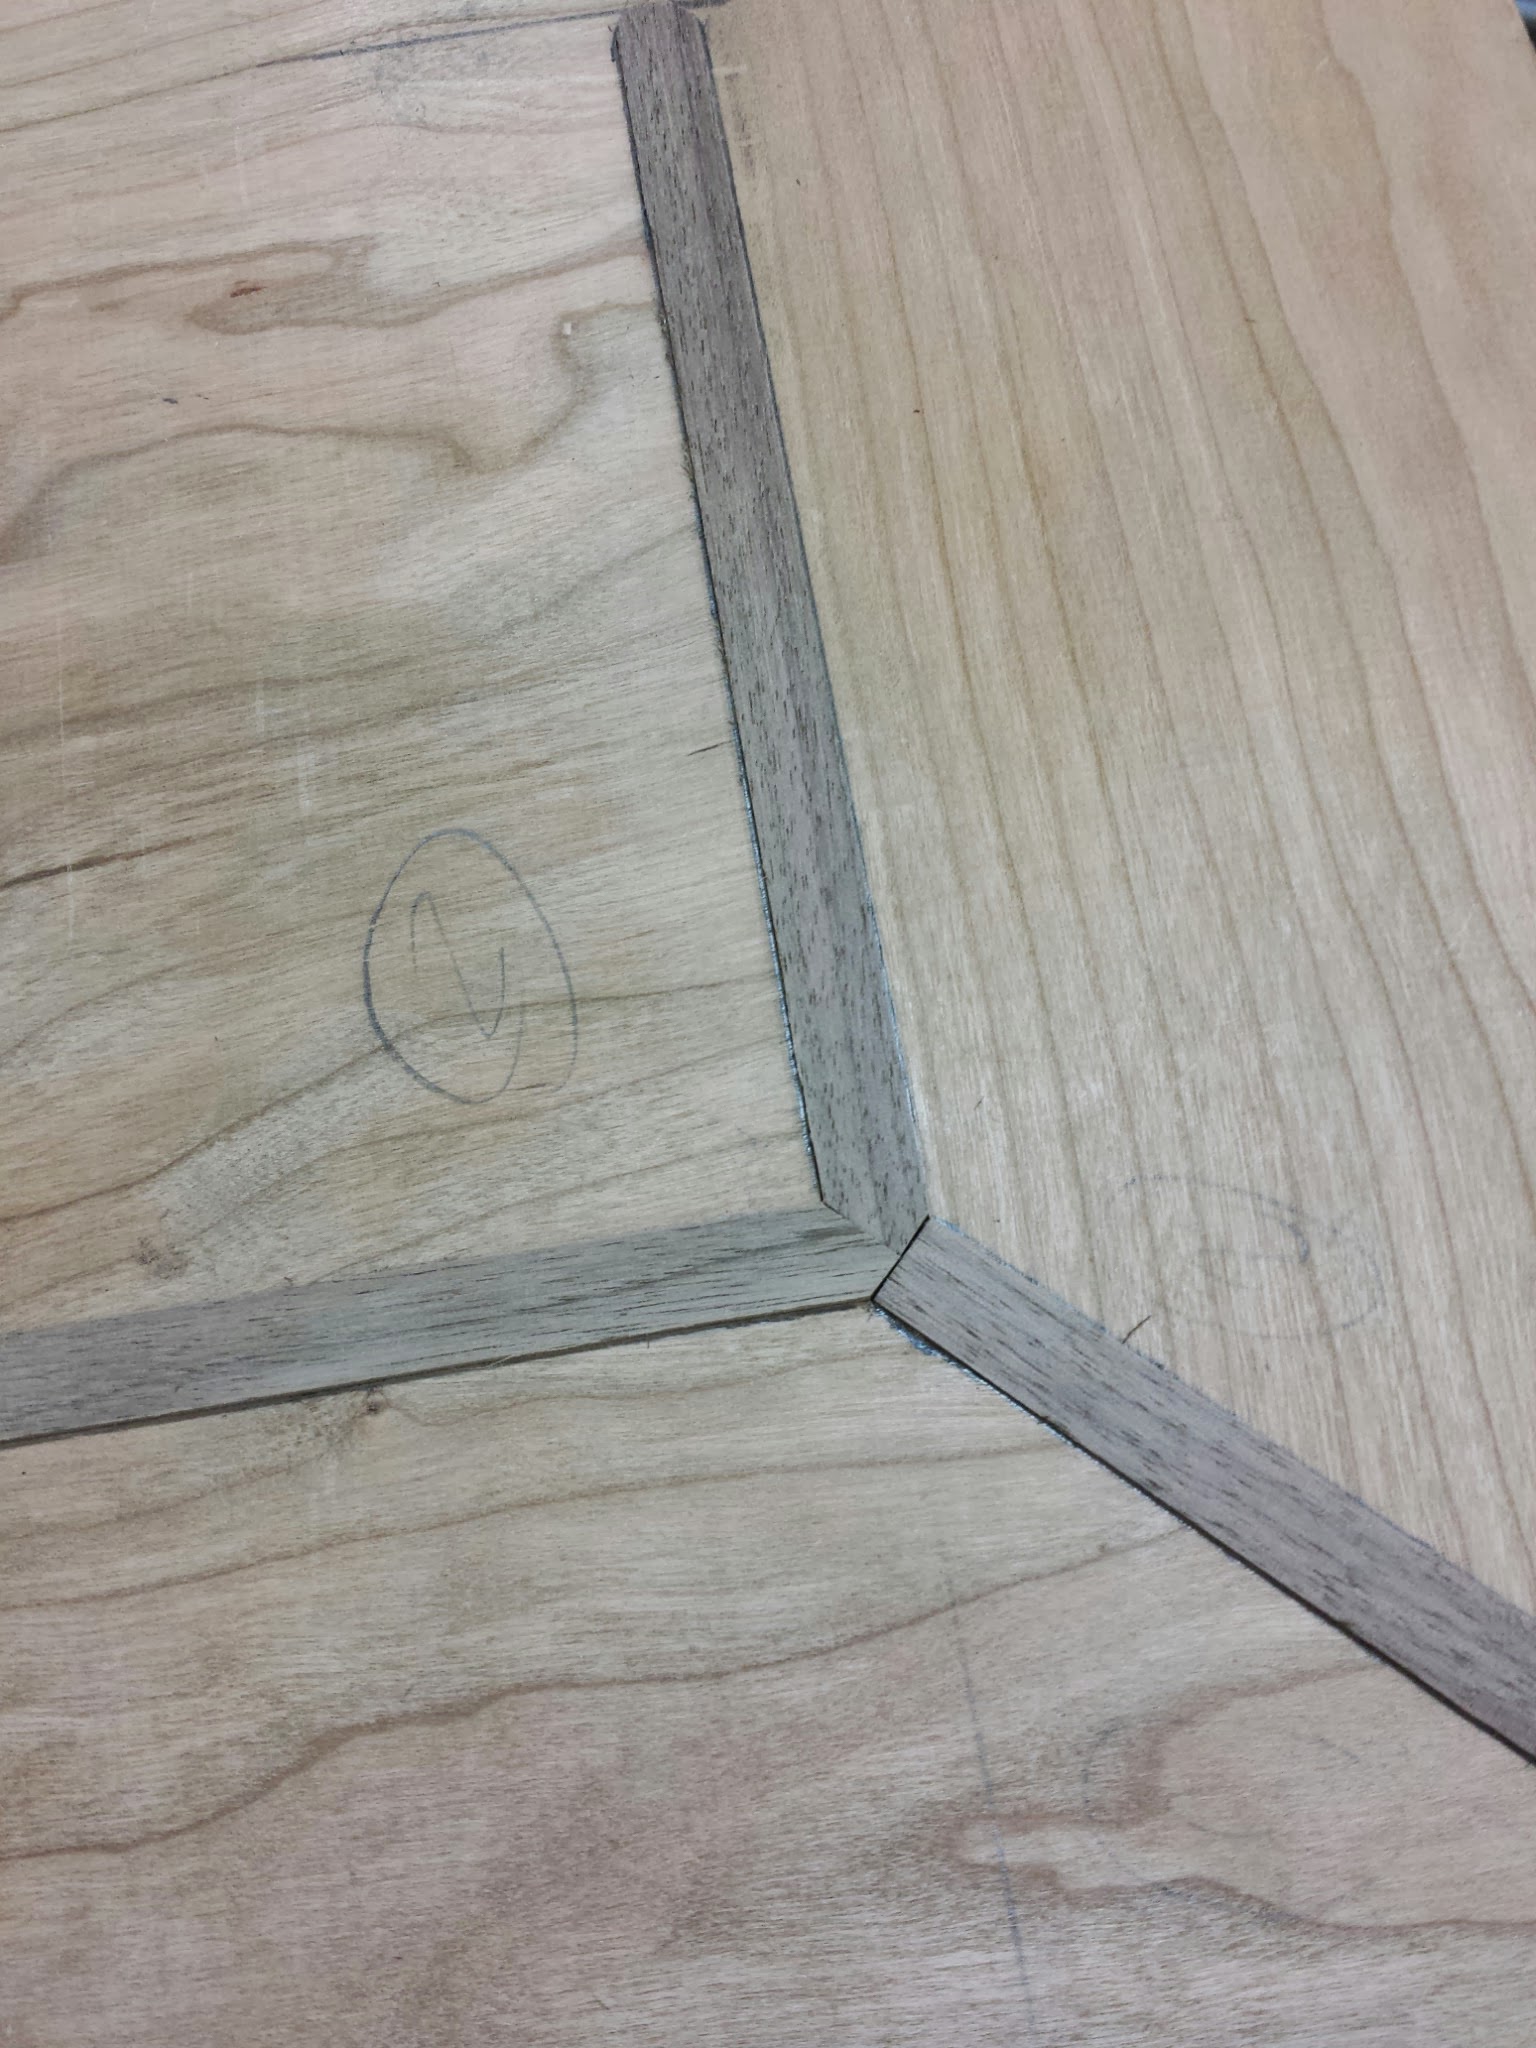
Walnut inlay
In order to get the inlay routed consistently I made a jig with a channel for the router to slide in while plunged. The jig aligned to the table using guides on the bottom.
Home again, home again, jiggity-jig!
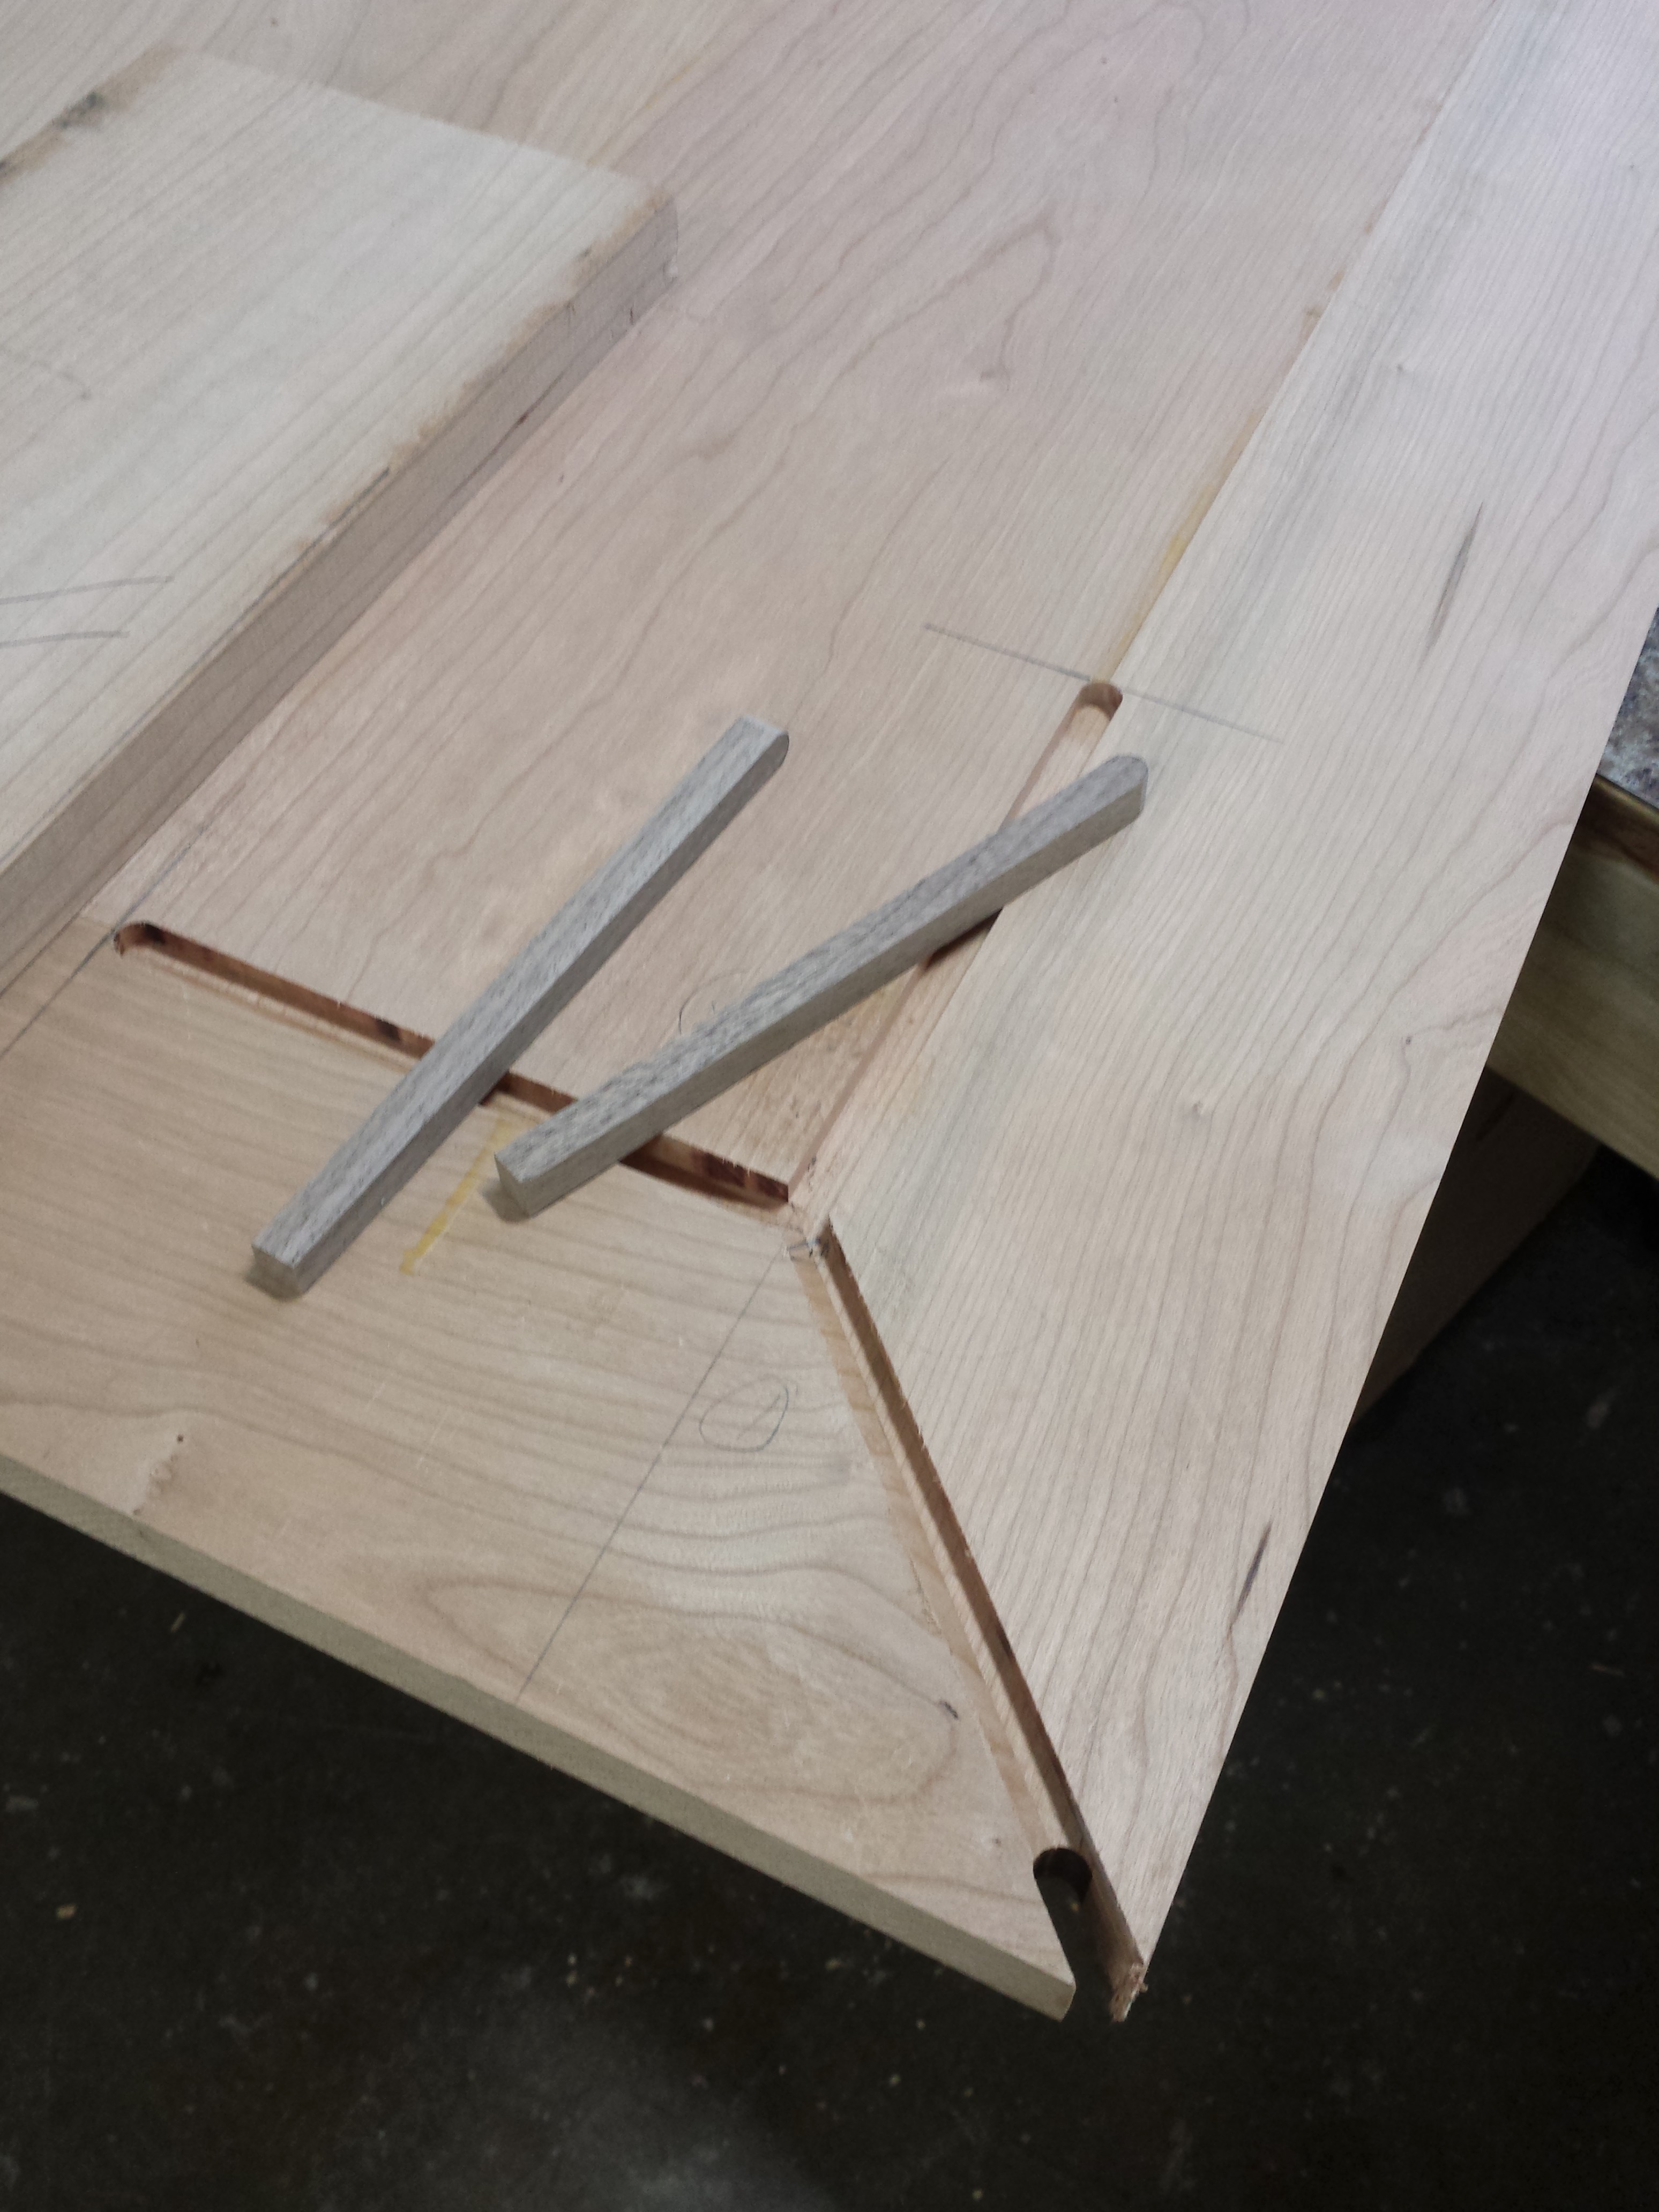
After routing, I fit the walnut by shaving off tiny slices on the table saw until it fit with a little encouragement.
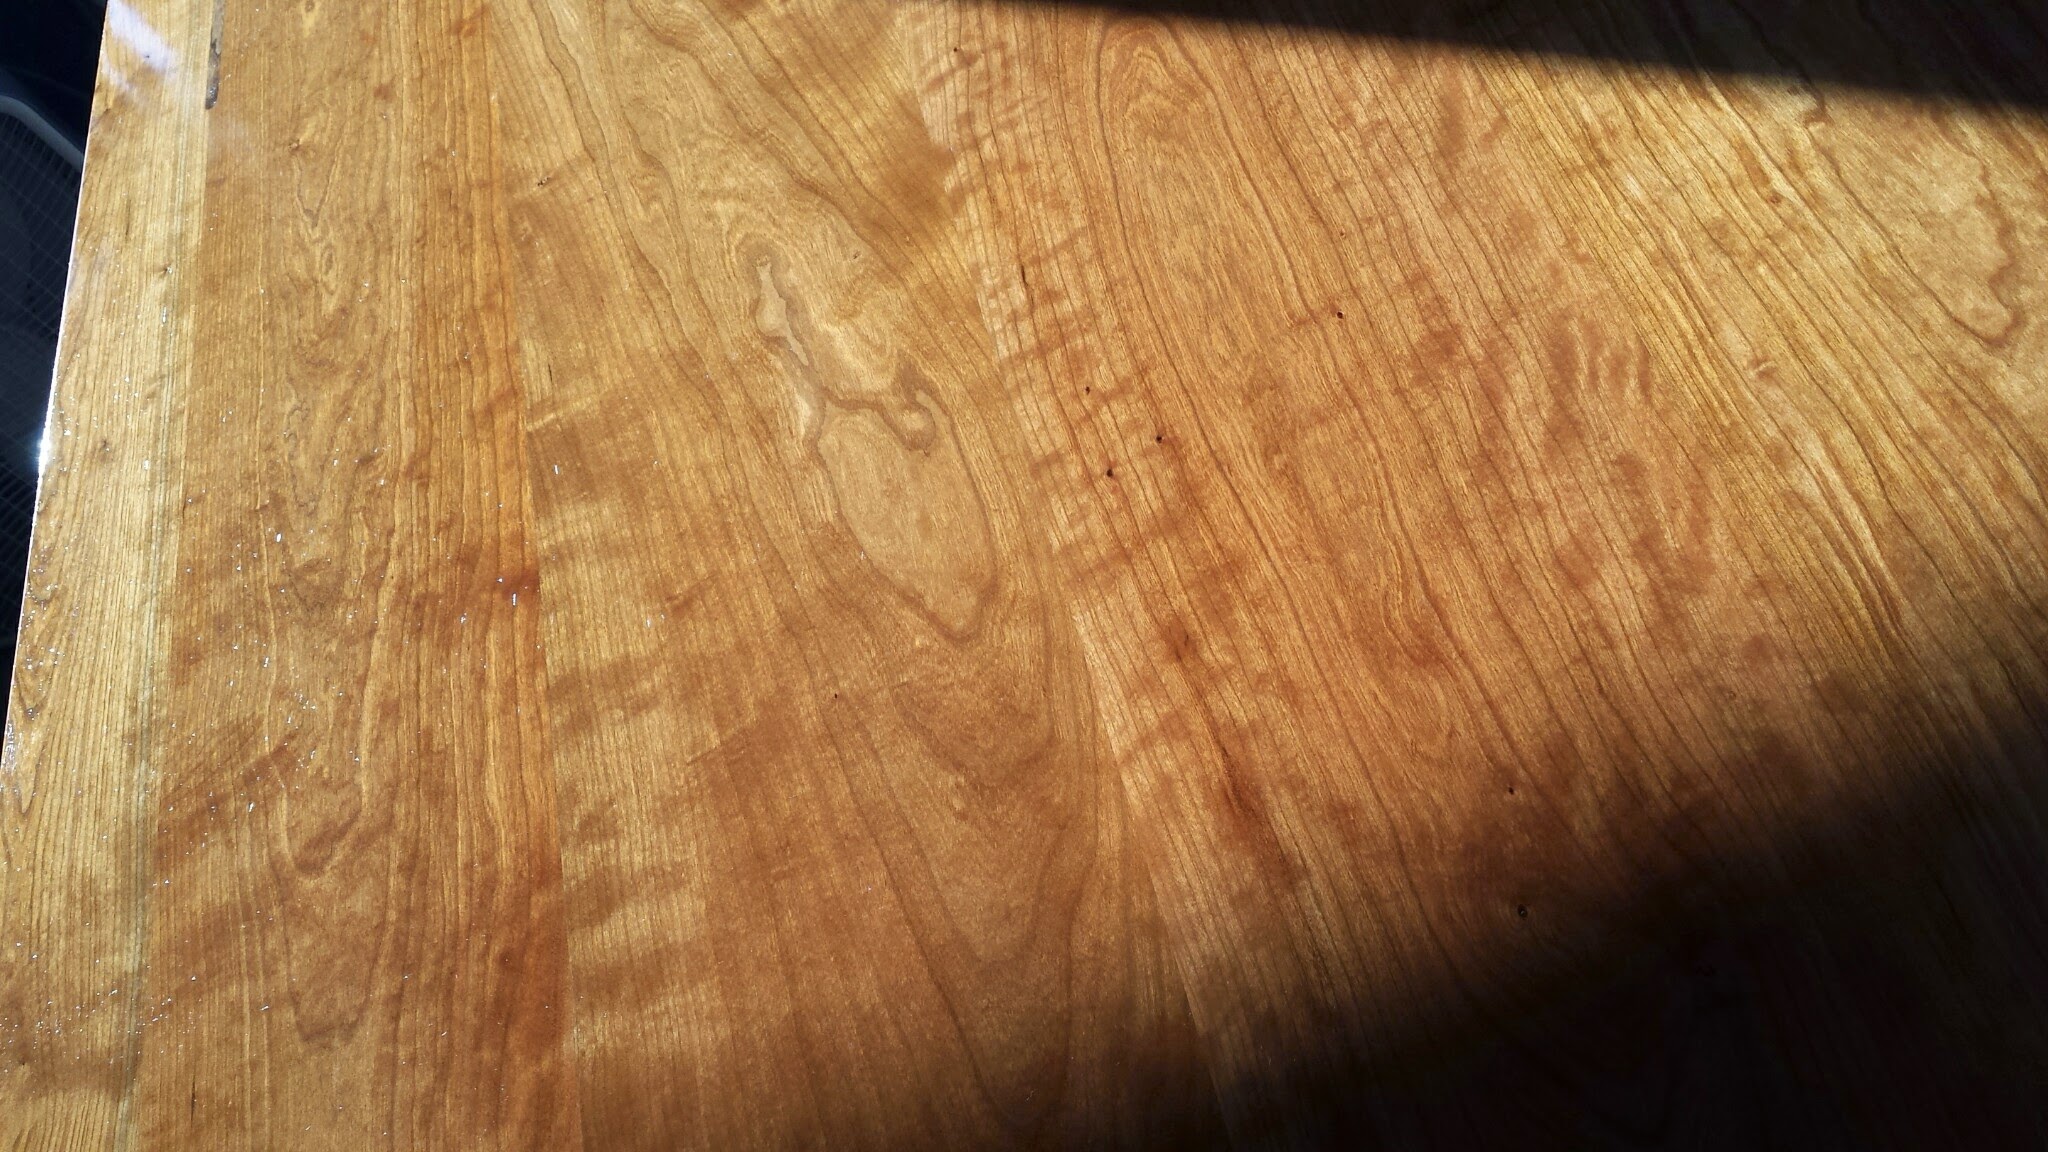
Finishing!
I didn’t want to stain this beautiful cherry wood so I just finished it with linseed oil to bring out its grain and color. I also applied a few coats of polyurethane to seal it and protect it from damage.
What do vegan zombies eat? Graaaaains.
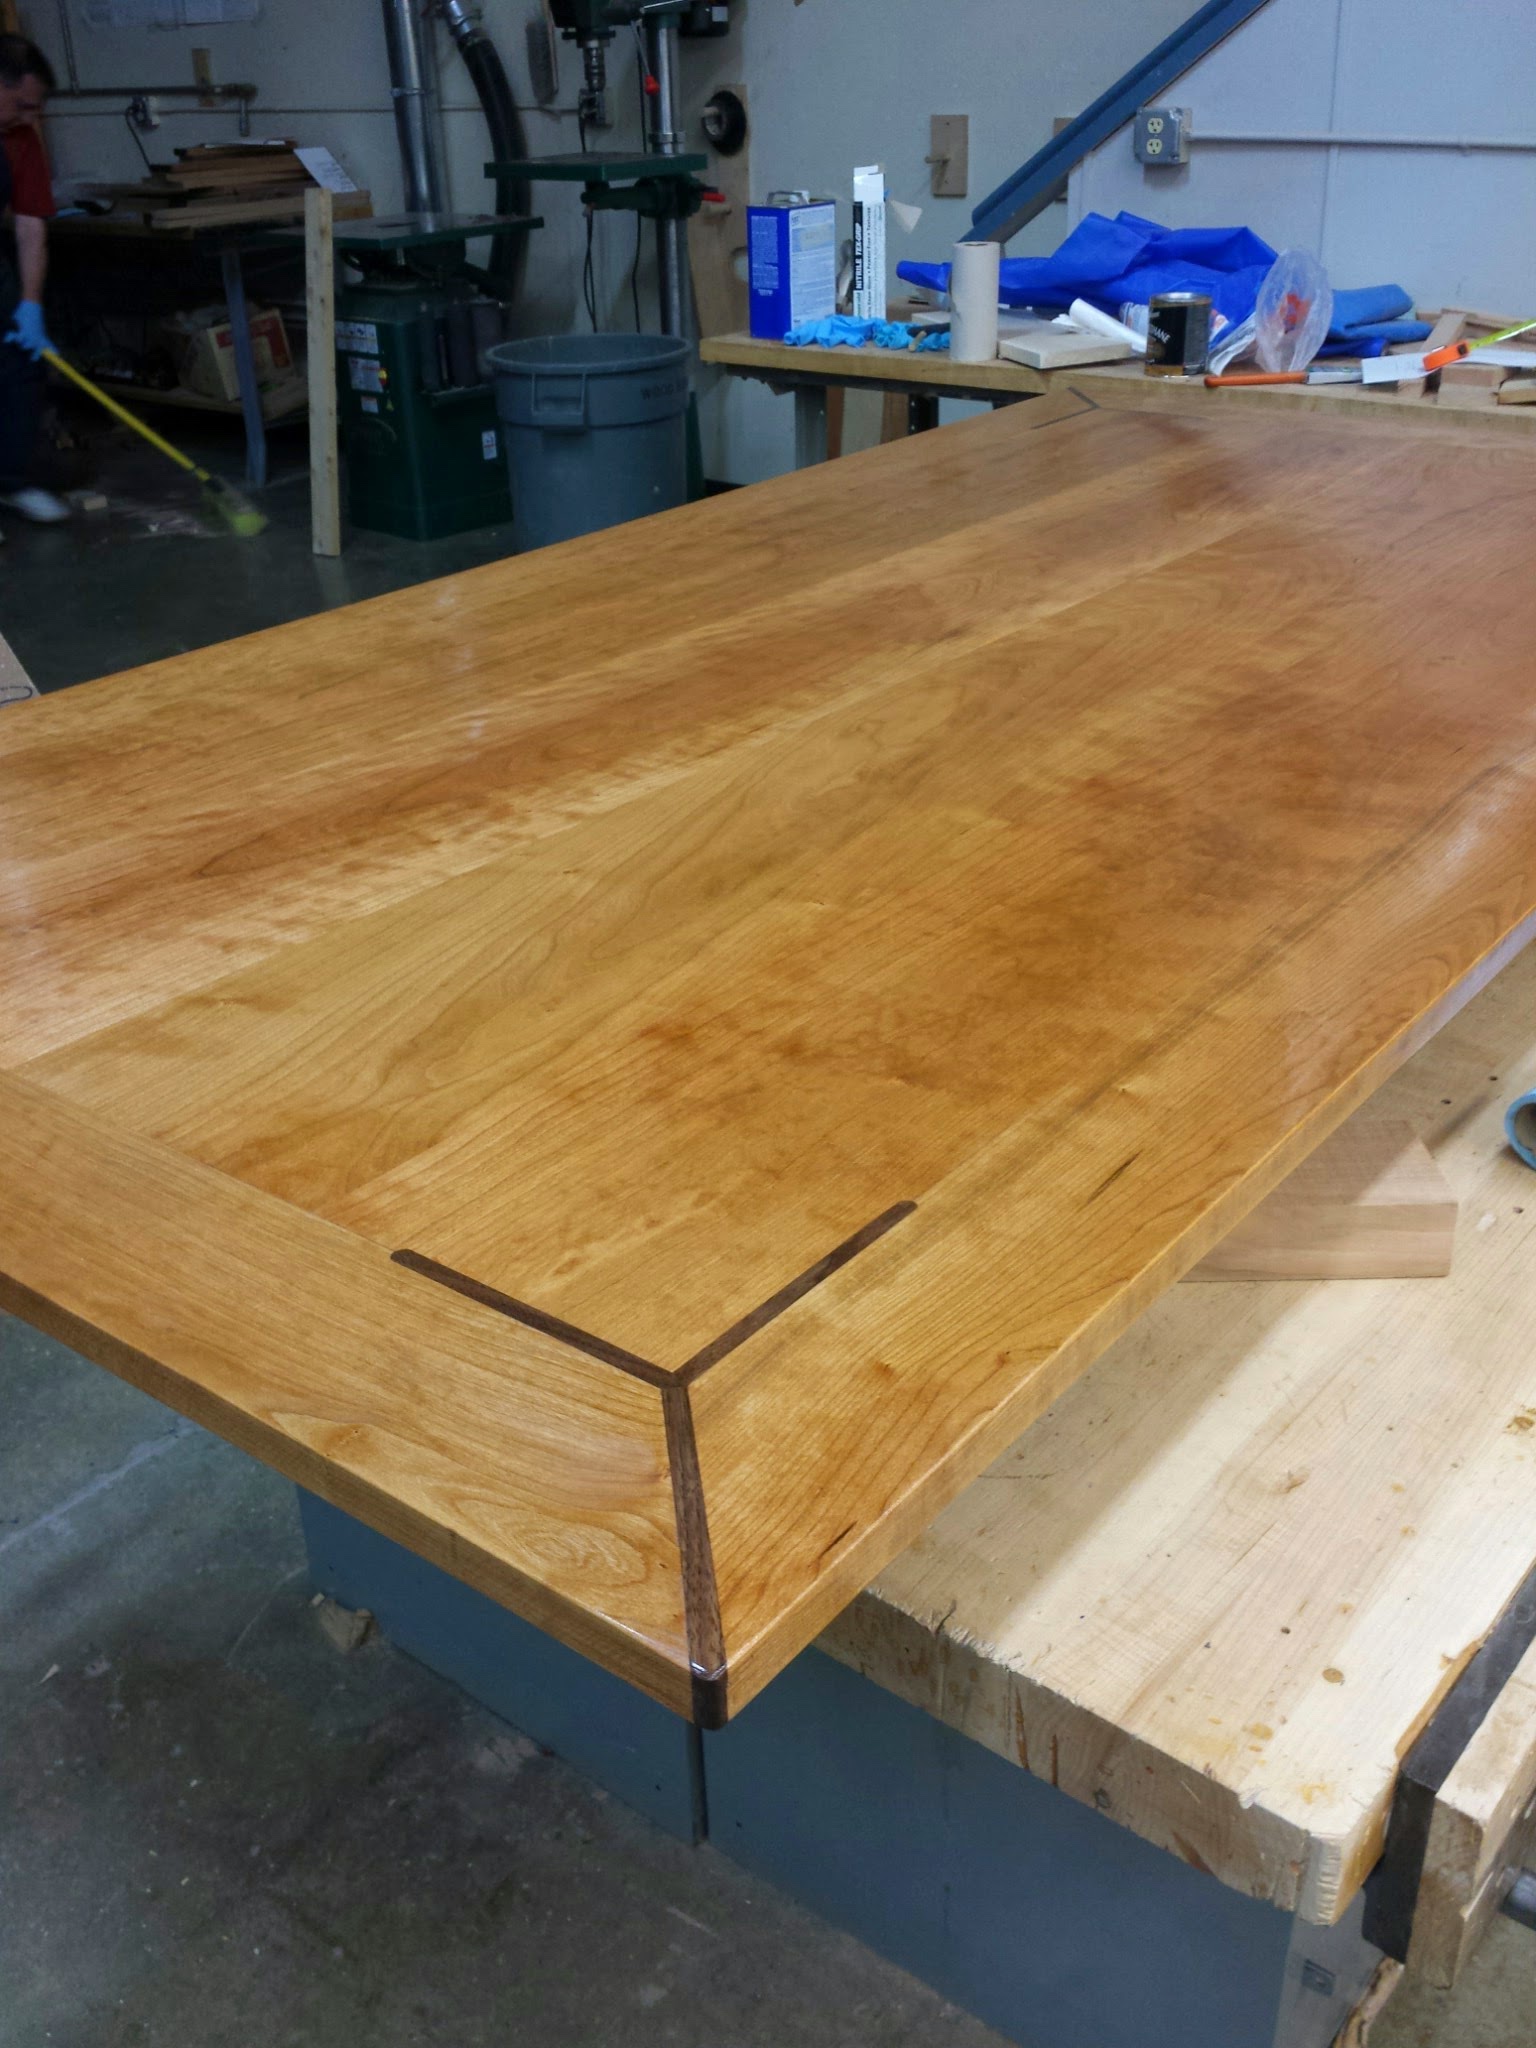
All done!
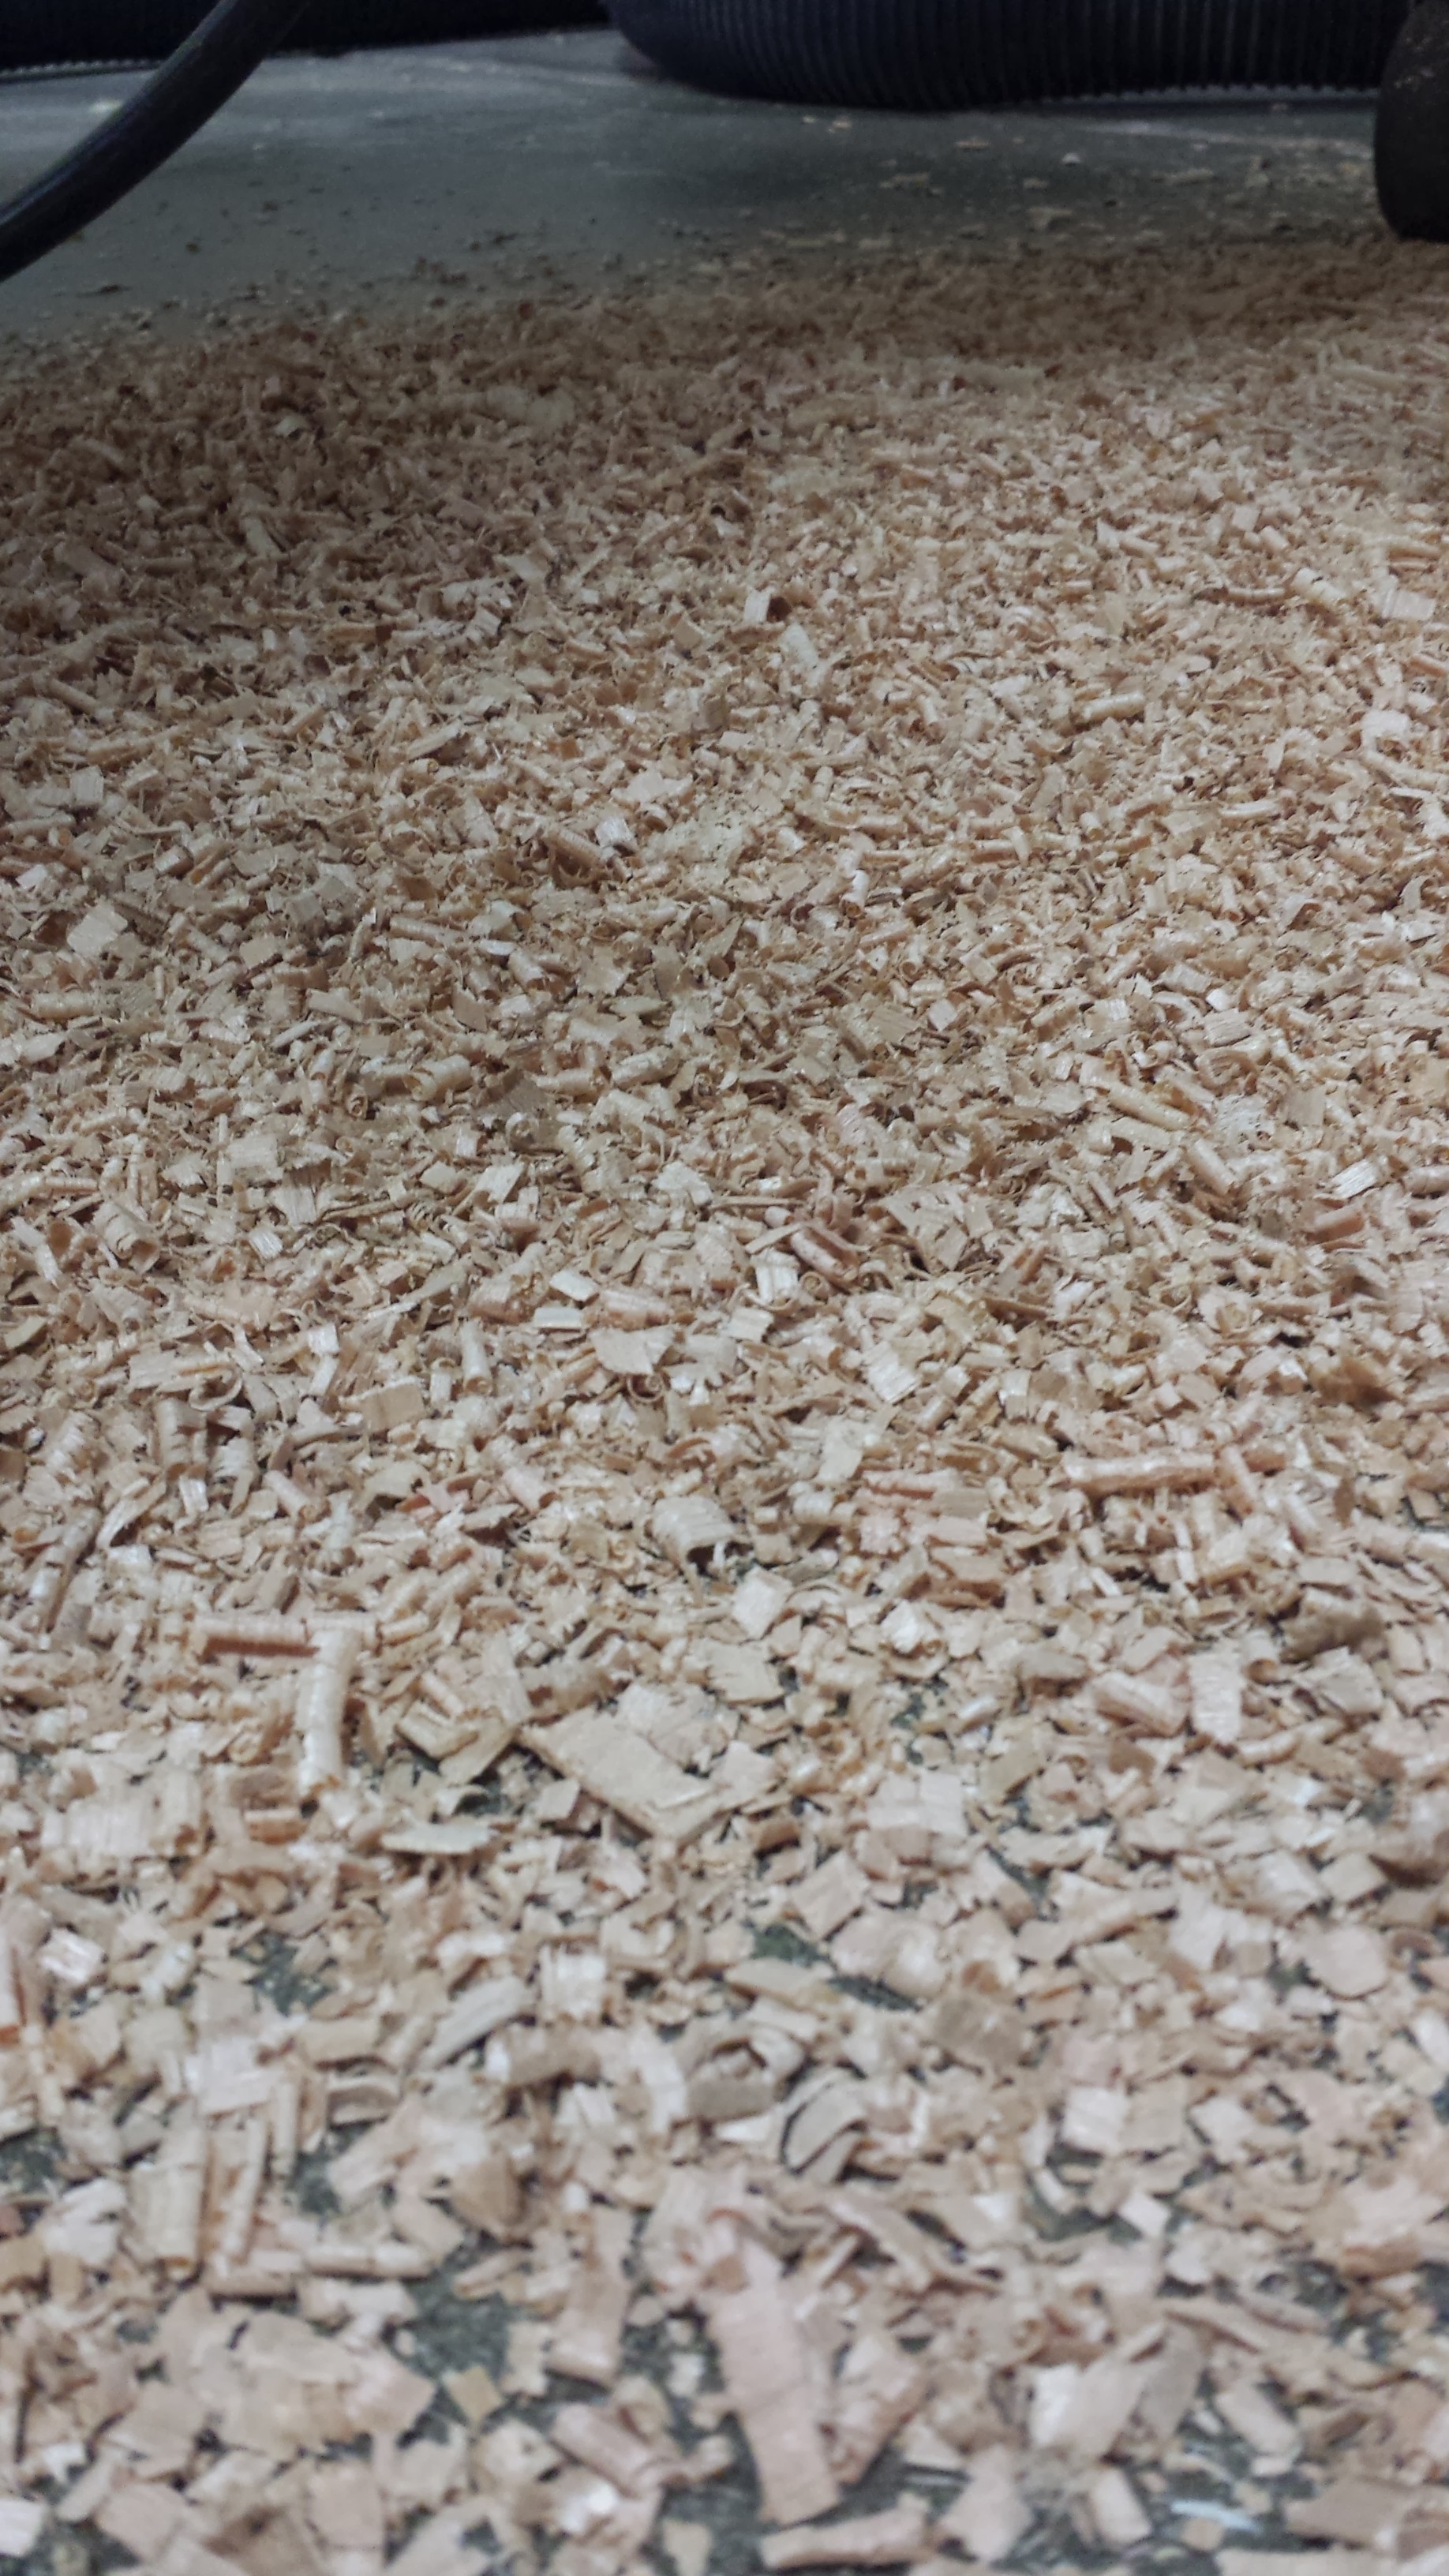
One of the days my dad and I went to the stop we found that the Saw Stop had been triggered by someone trying to cut wet wood. That thing is no joke!
After making all of that saw dust, it feels nice to have made something much more useful.
And look, you can even eat at it!